

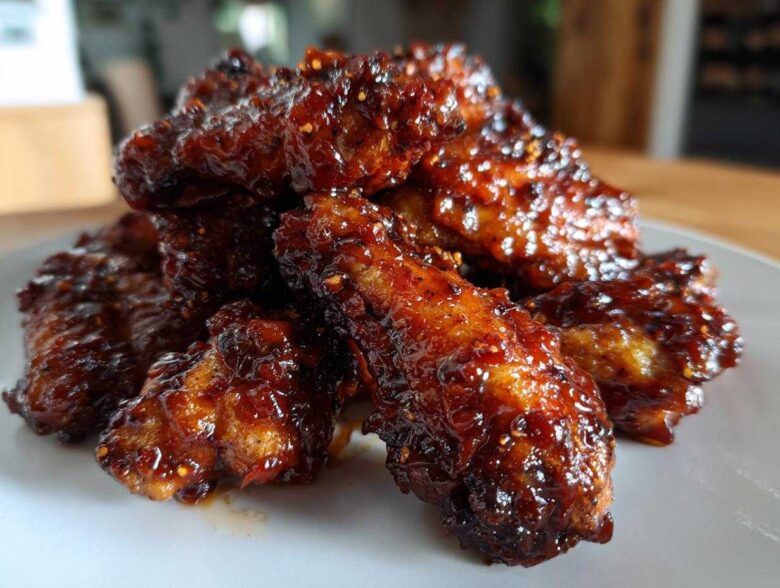
Listen, I know the struggle. You want that amazing, slightly crackly skin texture you get at the best wing joints, but when you bake them in your own oven, they end up… sad and floppy. I’ve wasted so many pounds of wings fighting that soggy texture, I thought it was impossible without deep frying! But trust me, after years of tinkering, I cracked the code. These are my definitive **Sticky BBQ Chicken Wings Crispy Oven Style** that absolutely crush takeout every single time. We use a couple of simple tricks—one dry rub component and a specific rack setup—to get that perfect crispness before we even think about applying that glorious, thick BBQ glaze. Forget the fryer; your weeknight wing game is about to change forever. If you want to check out some of my other favorite weeknight recipes, you can always browse the main recipe index!
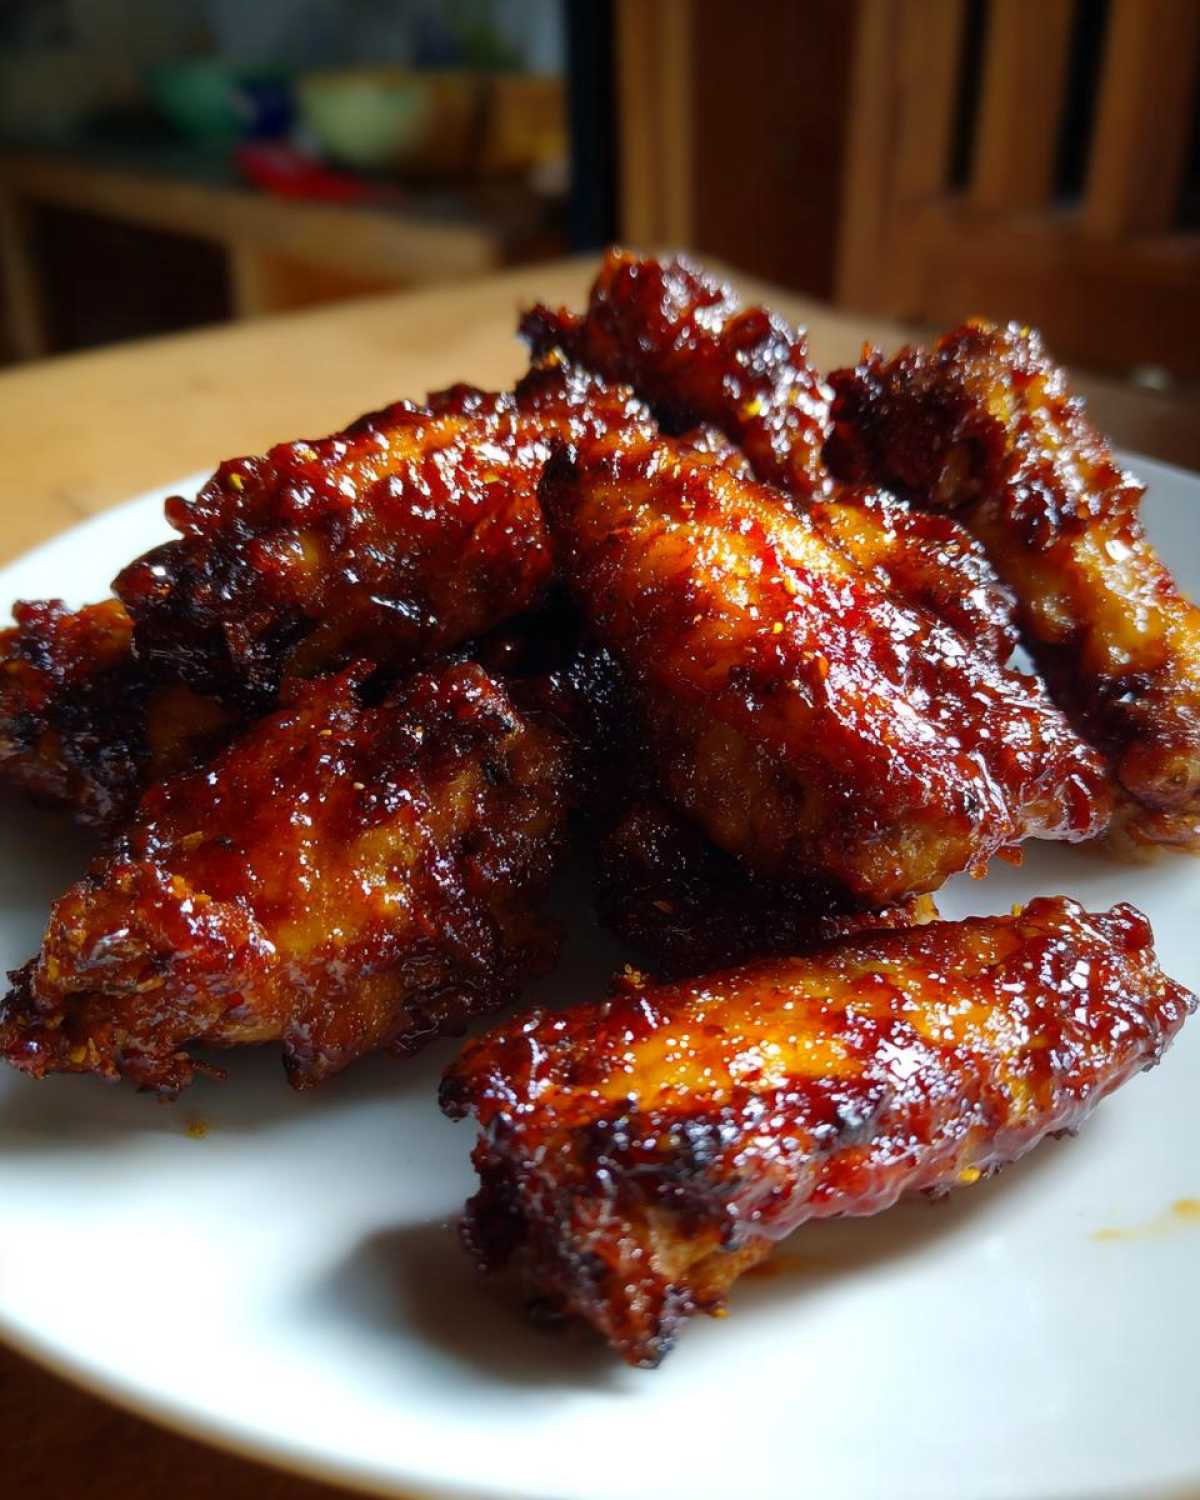
Why This Recipe Delivers the Best Sticky BBQ Chicken Wings Crispy Oven Style
You are probably wondering how I beat the dreaded ‘soggy oven wing’ problem. It all comes down to maximizing surface area and using the right coating before the heat even hits them. We aren’t deep-frying, but we are tricking the oven into acting like it!
- You absolutely must be generous with the dry spice mix. The secret weapon, baking powder, works magic by raising the skin’s pH level, which helps draw out moisture and creates that delicate, almost blistered texture we love. If you want to see how I use baking in other recipes, check this one out for crispy shrimp!
Achieving Restaurant Style Crispy Wings Oven Texture
The setup is nearly as important as the ingredients here. We bake high and dry! You need that wire rack so the hot air can circulate completely underneath the wings. If they sit directly on the foil, the steam gets trapped, and boom—soggy bottoms. Starting at 425°F ensures we render out as much fat as possible early on, making them genuinely crispy before we ruin the texture with sauce later.
The Secret to Perfectly Glazed Sticky BBQ Chicken Wings Crispy Oven Style
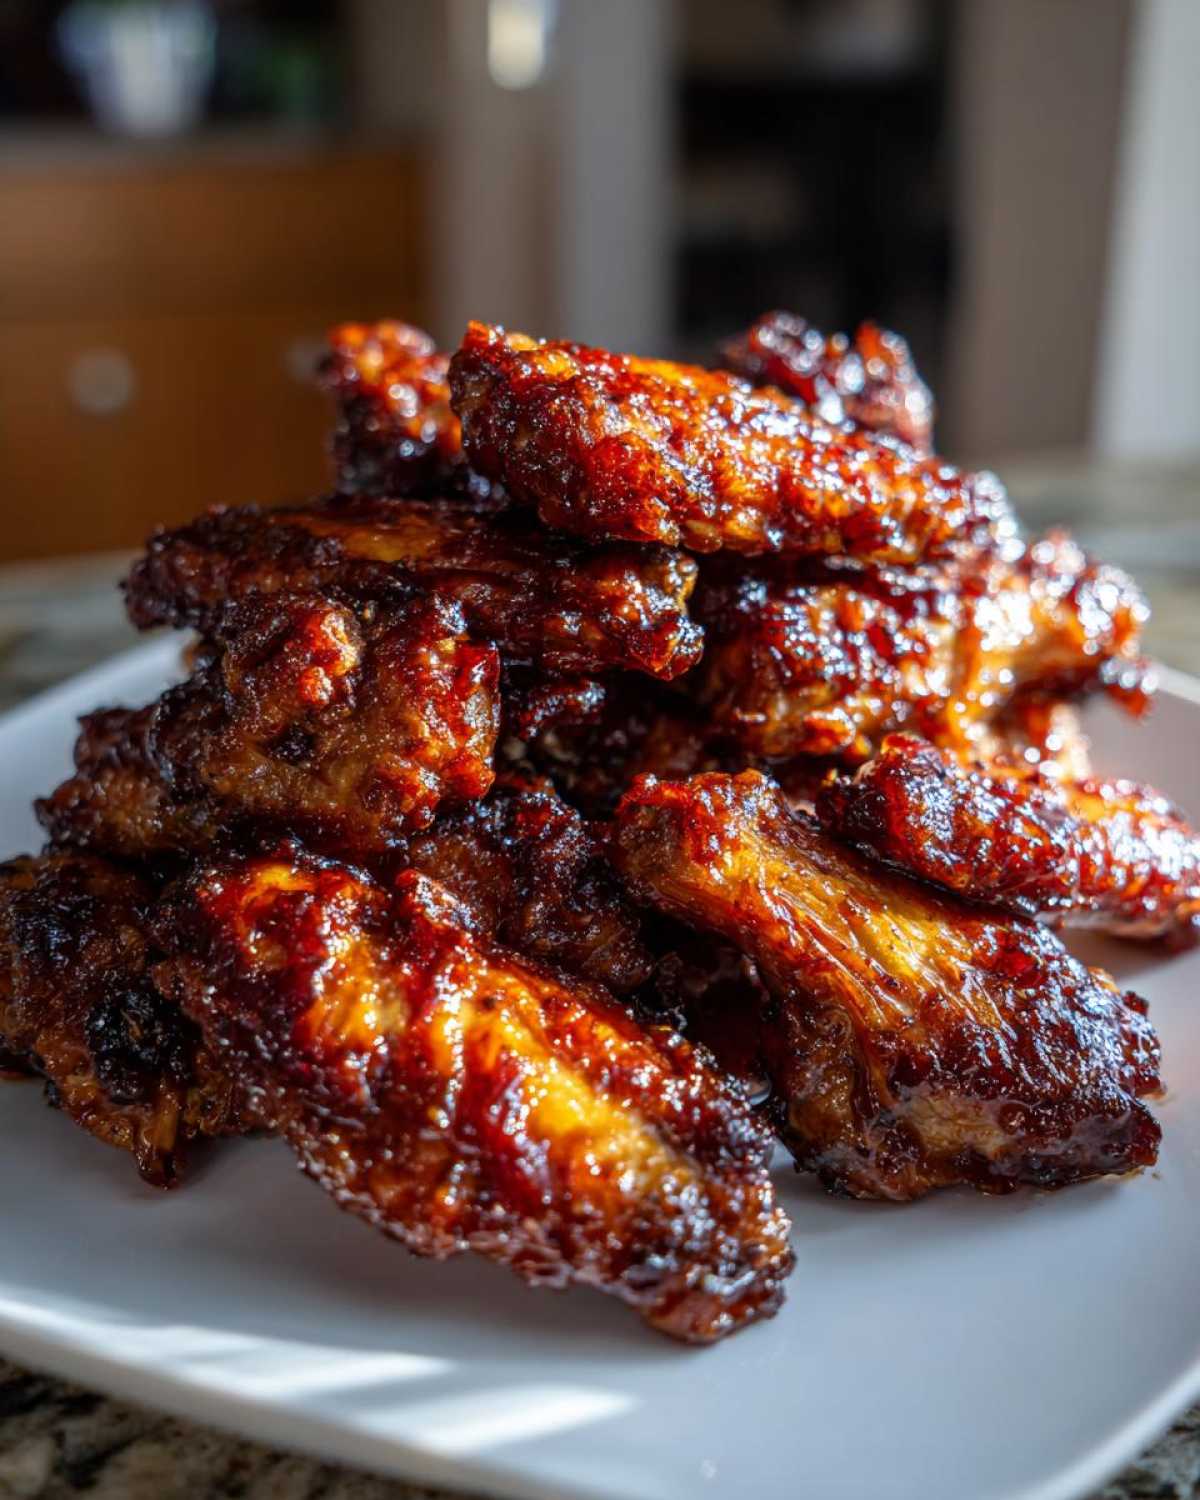
This is where timing saves your sauce from becoming burnt charcoal. We do *not* put the full coating on at the beginning. The first cook is for crisping the skin, period. We gently brush on the sauce only after the skin is set and dry. Then, we crank the heat up at the very end to caramelize that thick BBQ layer in those last five minutes. That two-stage process gives you that perfect sticky chewiness without scorching the sugar.
Ingredients for Sticky BBQ Chicken Wings Crispy Oven Style
Okay, let’s talk about what you need to grab at the store. For these wings to turn out perfect—crispy skin AND that thick, glossy coating—the ingredients matter. I made sure to list the exact amounts so you don’t have to guess. If you’re looking for other kitchen staples, I’ve shared my recipe for amazing garlic butter, which is great for dipping!
Remember, the success hinges on two things: the dry magic we apply first, and a nice, *thick* BBQ sauce for that sticky finish. Don’t use a watery sauce here—it just won’t coat right!
Dry Rub Components for Crispy Oven Wings
This small dry mix is responsible for all the crisping action. It’s minimal, but mighty. You’ll need:
- 2 lbs chicken wings (Get those flats and drumettes, please!)
- 1 tablespoon baking powder (This is crucial! Try to grab aluminum-free if you can find it, though any kind works for the texture.)
- 1 teaspoon salt
- 1/2 teaspoon black pepper
- 1/2 teaspoon garlic powder
- 1/4 teaspoon cayenne pepper (Just a little kick! You can skip it if you must, but it balances the sweetness.)
See? Baking powder for the **Sticky BBQ Chicken Wings Crispy Oven Style**! It’s the game changer that gets you that non-fried crispiness.
Sauce Glaze Ingredients for Sticky BBQ Chicken Wings Crispy Oven Style
You don’t need much for the glaze since it’s mostly about intensifying what you already like. We mix these just before the wings are done baking:
- 1 cup your favorite thick BBQ sauce (Seriously, find the thickest one you can!)
- 2 tablespoons honey or brown sugar (Optional, but I highly recommend this if you like them extra sticky. The extra sugar helps with that beautiful, deep caramelization at the end.)
That’s it! Measure everything out, and you are ready to tackle the prep work. It moves really fast once you get started!
How to Prepare Sticky BBQ Chicken Wings Crispy Oven Style Step-by-Step
Alright, now that we have all our dry mix ready and our sauce is waiting patiently, let’s get these wings into the oven where the real magic happens! This process isn’t fast, but it’s almost entirely hands-off, which I love. Just set a timer and trust the process, especially with the temperature changes. If you wanted to practice other chicken techniques, I have a great guide on easy chicken marinades, but for wings, dryness is key!
Prepping the Wings for Maximum Crispiness
First things first: Preheat your oven to a blazing 425°F (220°C). Line a sheet pan with foil—this saves your cleanup time, which is priceless—and then place a wire rack right on top of that foil. Now, the most important thing you’ll do all day: take those wings and pat them down with paper towels. You want them bone dry. If you skip this, the baking powder won’t work, and you’ll end up with mush. Seriously, drain every ounce of moisture!
Once they are dry as a bone, dump them into the bowl with your seasoned baking powder mix. Toss them around until every single wing, flat, and drumette is evenly coated. My little expert tip? Make sure you get the coating right into the crevices. Then, arrange them on the wire rack. They need space! No overcrowding allowed, or they’ll steam themselves silly instead of crisping up.
The Primary Bake Cycle for Non Fried Crispy Chicken Wings
Into the oven they go! Bake them for 25 minutes. That high heat gets the skin working hard. After that time is up, carefully pull the rack out—watch the heat—and flip every single wing over. Put them back in for another 20 minutes. When that timer goes off, the skin should look dry and just starting to look golden. They are not getting sauced yet! If they look pale or wet, give them five more minutes, but they need to be set before we move on to the **Sticky BBQ Chicken Wings Crispy Oven Style** stage.
Glazing and Caramelizing the Sticky BBQ Chicken Wings Crispy Oven Style
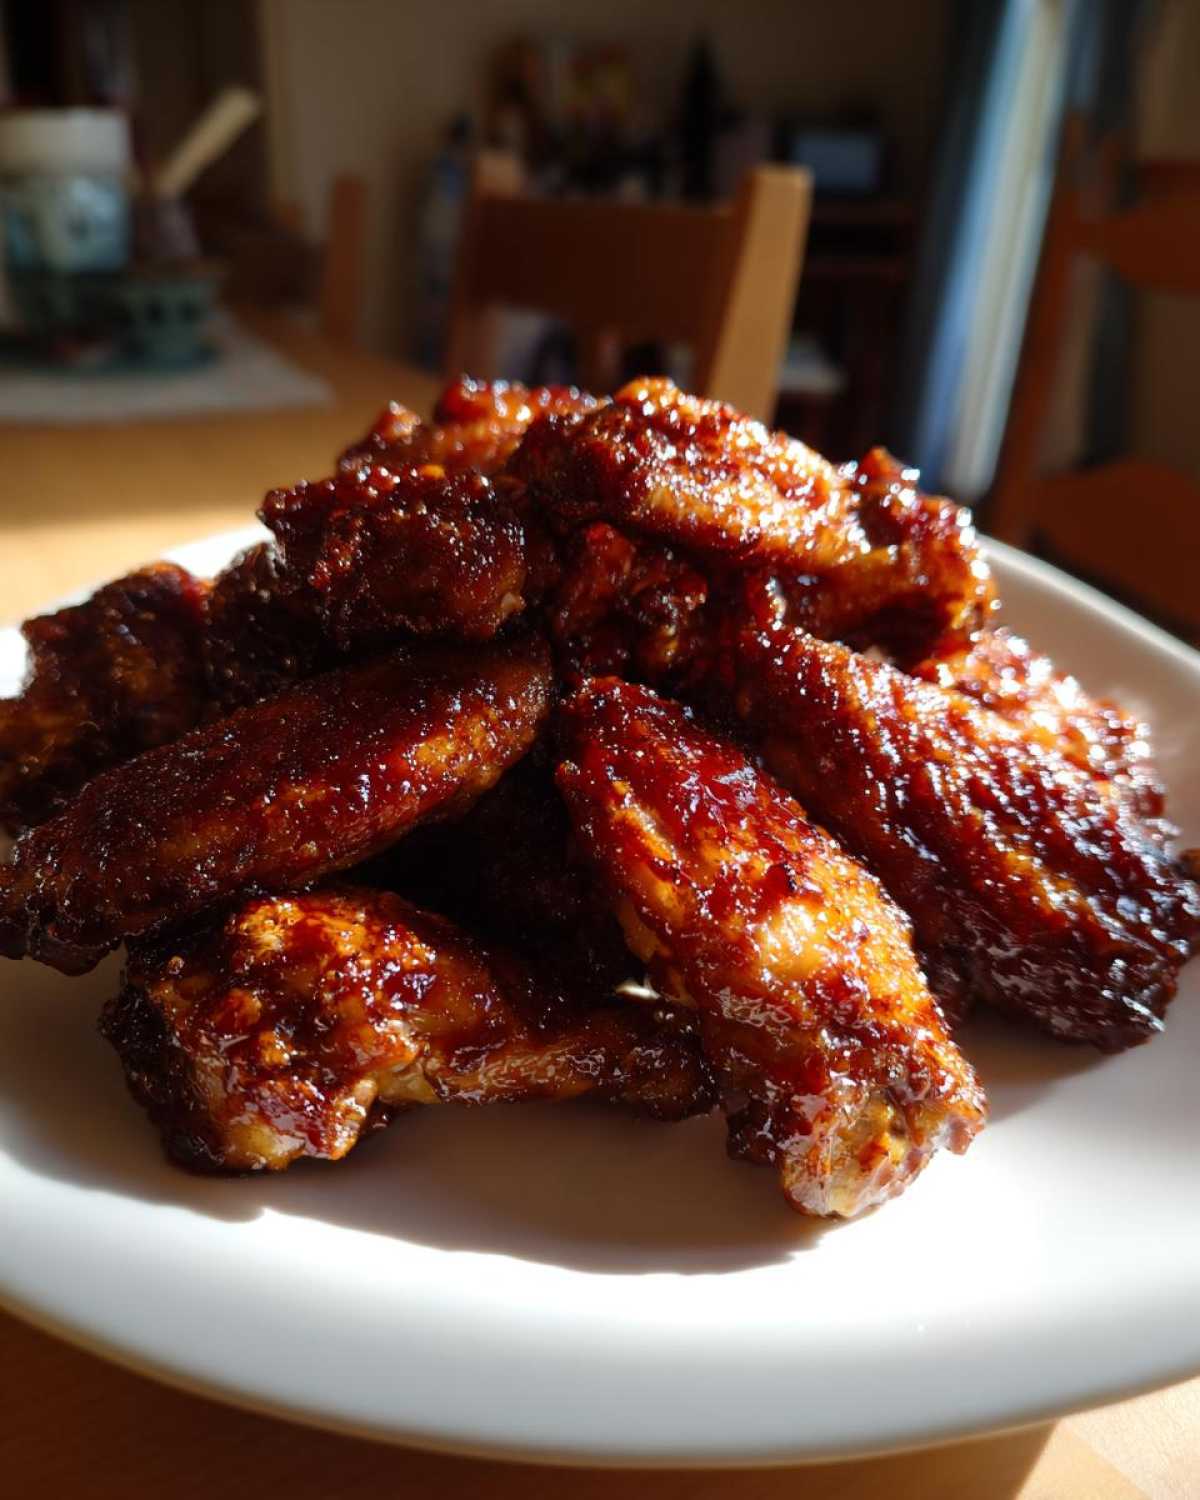
While those wings are finishing their primary bake, gently warm your BBQ sauce and optional honey/sugar mix in a tiny saucepan—low heat is perfect, you just want it nice and pourable, don’t let it start bubbling hard. Once the wings look perfectly dry, ditch the 425°F setting and crank your oven up to 450°F! Brush those cooked wings with a generous coat of the warm sauce mixture. Now, here is where you watch like a hawk. They only go back in for 5 to 8 minutes. We are looking for that beautiful, sticky caramelization. If you walk away for too long, the sugar burns, and that’s the worst!
Expert Tips for Perfect Sticky BBQ Chicken Wings Crispy Oven Style
Even with the best recipe, sometimes things decide to go rogue in the oven, right? That’s okay! Getting that restaurant-quality crisped skin while keeping the glaze sticky is a balancing act. These tips are the little secrets I’ve picked up so you don’t have to stress when things look a little off mid-bake. If you’re looking for tips to complement these wings, you might want to check out my guide on making your own mayonnaise for a tangy dipping sauce!
Troubleshooting Common Issues with Oven Wing Baking Tips
So, you pulled the wings out from the first bake (before saucing) and they look a bit pale? Don’t panic and definitely don’t start saucing them yet! If the skin isn’t developing color, it means there’s still too much moisture locked in. I usually bump the temperature up to 435°F—ten degrees hotter than the main bake—and give them an extra 5 minutes, naked (no sauce!). That extra blast of dry heat usually does the trick to set the skin before you apply the glaze.
Also, if your oven has a convection setting, switch to it for that initial bake! The fan circulates the heat much better, promoting faster drying of the skin. Just keep an eye on the time, as convection cooks faster, maybe shaving off 5 minutes total from the initial dry bake time.
Making the BBQ Glaze Thicker for Your Sticky BBQ Chicken Wings Crispy Oven Style
The number one reason for running sauce or a thin, watery glaze is starting with a store-bought sauce that isn’t concentrated enough. Remember I told you to use a thick sauce? If yours is still a bit thin even after adding the optional honey or brown sugar, we need to cook it down a touch!
Take that sauce mixture and pour it into a tiny saucepan. Turn the heat to medium-low and let it gently simmer—not boil aggressively—for about 5 to 7 minutes. You’re looking for it to visibly reduce and cling to the side of the spoon when you lift it out. Once it coats the back of a spoon nicely, take it off the heat immediately. This reduction concentrates the flavor and makes sure when you brush it on, it stays exactly where you put it, ready to caramelize beautifully in that final blast of heat. That thick coating is what makes the **Sticky BBQ Chicken Wings Crispy Oven Style** so incredibly satisfying.
Storage and Reheating Instructions for Sticky BBQ Chicken Wings Crispy Oven Style
Okay, full transparency: these **Sticky BBQ Chicken Wings Crispy Oven Style** are absolutely, one hundred percent best eaten straight from the oven when they are piping hot and impossibly sticky. But sometimes, you just can’t finish the whole batch, or maybe you made them ahead of time for a party—I get it! We need a plan to reheat them without turning them into sad, mushy sponges.
If you have leftovers, store them immediately in an airtight container in the fridge. Make sure they cool down a bit first, but don’t wait hours. That thick layer of BBQ glaze solidifies as it cools, which actually helps keep a little bit of the texture intact.
Now, for the reheat—this is non-negotiable if you want to save that crispiness. Do NOT, under any circumstances, grab the microwave. The moisture will steam the skin, and all our hard work baking at 425°F will be undone in thirty seconds.
The Best Way to Reheat Crispy Oven Wings
We are going back to high, dry heat! Set your oven—or even better, your toaster oven if you just have a few—to about 400°F (200°C). Line a small baking sheet with foil, and if you still have that wire rack, use it! Place the wings on the rack in a single layer, just like we did for the initial bake. We want air circulation around them again.
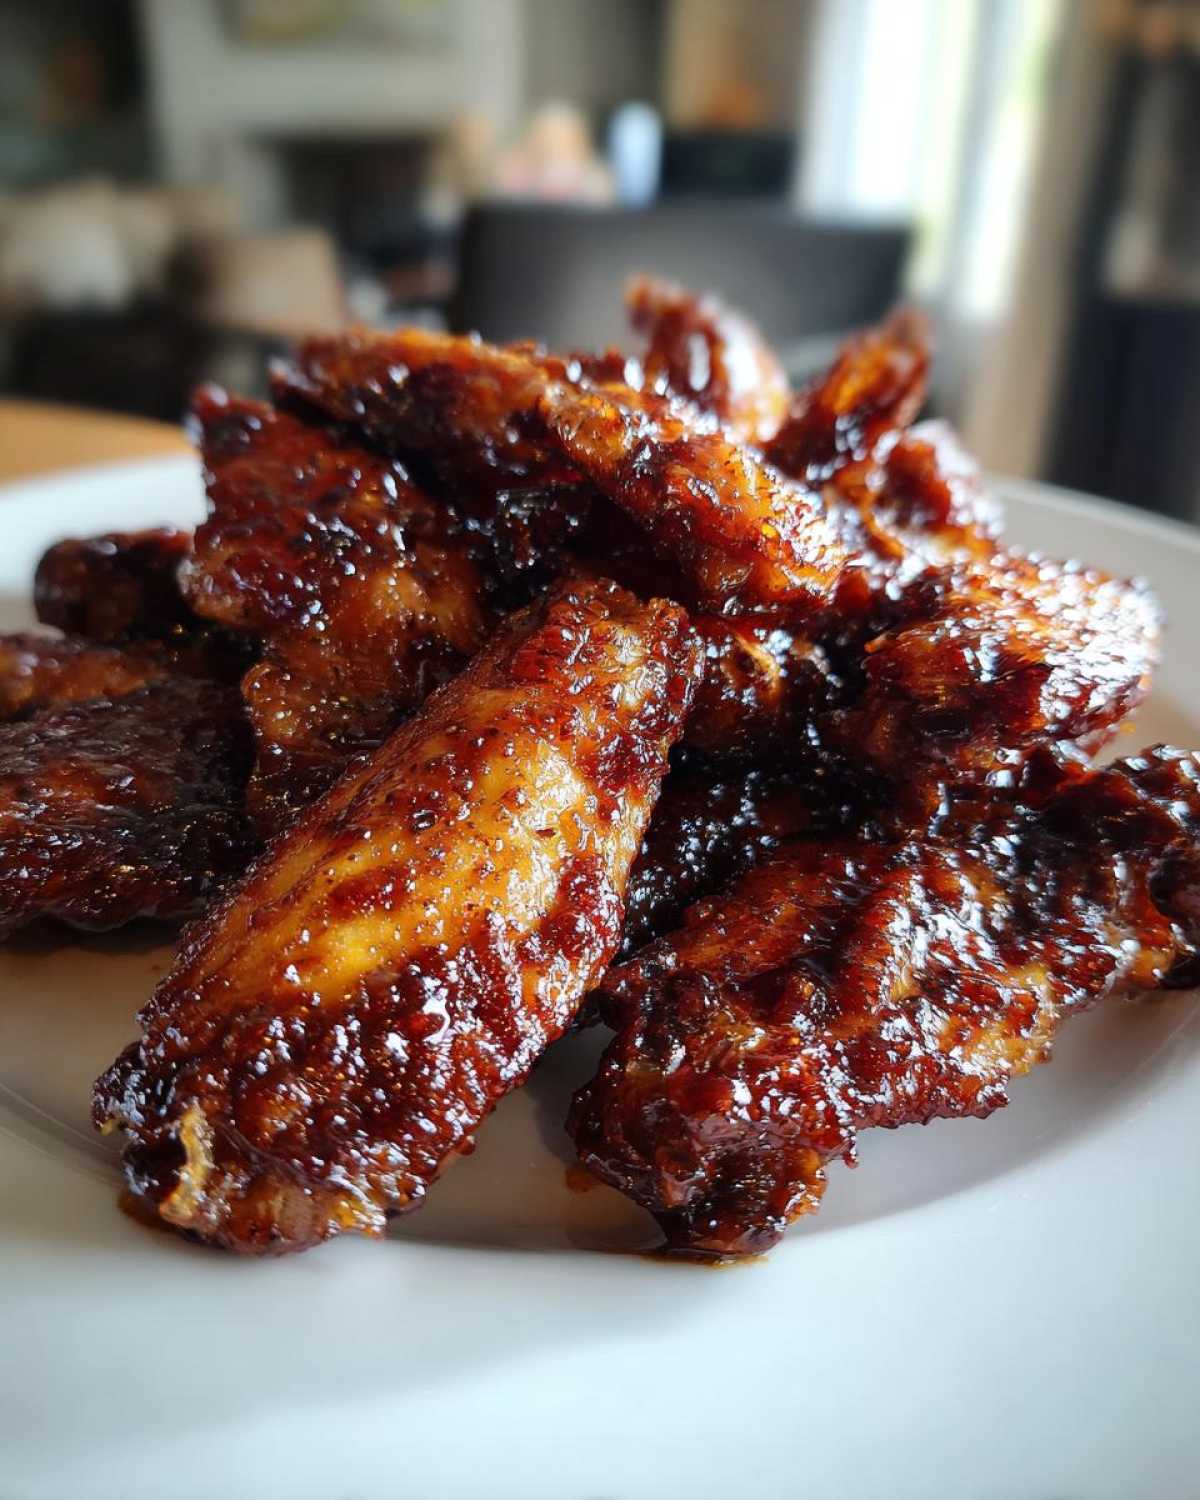
Pop them in for about 8 to 10 minutes. You aren’t cooking them again; you are just gently heating them through while allowing the heat to blast away any surface moisture that settled in the fridge and re-crisp that skin. You’ll smell that wonderful sweet and smoky scent getting stronger as they heat up. They should come out firm and delightfully sticky again!
If you are prepping these ahead of time, I always recommend holding off on the final glaze step until about 15 minutes before you plan to serve them. You can follow the initial baking instructions (up to step 6) and store the completely dry, un-sauced wings cooled in the fridge for up to two days. Then, just proceed with saucing and the final high-heat blast! For more make-ahead strategies for your kitchen adventures, check out my collection of make-ahead recipes!
Serving Suggestions for Game Day Chicken Wings Oven Baked
You’ve made the crispiest, stickiest, most gorgeous wings in your entire life. Congratulations! Now, what do you put next to them? These wings are rich, sweet, sticky, and savory, which means they beg for something cool, creamy, or sharp on the side to cut through all that fantastic BBQ flavor. They are the absolute star of any Game Day spread, but they deserve great supporting actors!
When I make a big batch of these **Sticky BBQ Chicken Wings Crispy Oven Style**, I always make sure to have a good cooling agent ready. If you haven’t tried my recipe for Fried Pickle Dip, you are missing out—the tangy, salty crunch of the pickles mixed into that creamy base is the perfect counterpoint to the sweetness of the glaze.
Here are a few quick ideas for what else rounds out the perfect wing plate:
- Cool Dips: Besides that fantastic tangy dip, a classic buttermilk ranch or a simple blue cheese dressing works wonders to tame the heat and cool the palate.
- Crunchy Sides: Keep it simple! A big bowl of celery and carrot sticks is traditional for a reason—they provide the needed snap and freshness. Don’t forget a side of coleslaw if you want something creamy and slightly vinegary.
- Palate Cleansers: If you’re serving these as a main course, a light, acidic side salad (maybe one with a vinaigrette, not a heavy mayo dressing) helps refresh your mouth between wings.
Honestly, though? If you have perfectly executed, sticky, crispy wings, you don’t need much more than a stack of napkins and a cold drink!
Frequently Asked Questions About Crispy Baked Chicken Wings Recipe
I get so many questions about this recipe because I know how much people want to nail that **Crispy Baked Chicken Wings Recipe** without turning on the deep fryer. It’s totally understandable! Baking wings just hits differently when you know the secrets. I tried to cover everything I know about getting that perfect texture, but here are a few quick hitters I see pop up a lot. If you’re looking for something to serve alongside these amazing wings, maybe some homemade bread? You should really check out my recipe for soft, fluffy homemade garlic naan!
Can I use this Oven Wing Recipe Baking Powder Method for Drumettes Only?
Absolutely you can! The drumettes (the mini drumstick-shaped pieces) and the flats both benefit from the baking powder treatment. They are all skin, fat, and bone, which is what we are trying to crisp up. Since drumettes are slightly meatier, you might want to give them an extra 3 to 5 minutes during that initial dry bake cycle, just to make sure the inside is cooked through before you hit them with the sauce and the final high heat blast. But yes, mix them all together on the rack—it actually helps them cook evenly!
How long do I bake the wings if I skip the baking powder?
Oh, honey, if you skip the baking powder, you are skipping the entire foundation of the *crispy* part of **Sticky BBQ Chicken Wings Crispy Oven Style**! If you decide to skip it for whatever reason, you must compensate for the lost moisture-wicking magic. I’d say you need to bake them closer to 35 minutes for the first round and then another 30 minutes for the second round before you even think about saucing them. That’s a lot longer, and frankly, you’re going to risk drying out the meat to get the skin done. It’s just not worth missing that one ingredient that makes the magic happen!
Is this recipe suitable for a Gluten Free Crispy Wings Oven preparation?
Great question, especially since we are talking about game day snacks! The good news is that the wings themselves—the chicken, the baking powder, salt, pepper, and garlic powder—they are all naturally gluten-free. The only place gluten can sneak in with this **Perfectly Glazed BBQ Wings Baking** method is your BBQ sauce. A lot of commercial sauces use wheat flour as a thickener, or sometimes flavorings that contain gluten. So, yes, it is perfectly suitable, but you absolutely must check the label on your favorite BBQ sauce to ensure it’s certified gluten-free. If it is, you’re golden!
Estimated Nutritional Information for Sticky BBQ Chicken Wings Crispy Oven Style
Now, if you’re like me, sometimes you obsess over the macros, even when eating glorious, sticky wings! I pulled together the estimated nutritional breakdown based on the ingredients listed, but I need to give you a big old warning right here.
These numbers are based on a serving of 4 wings before we even talk about the sauce you choose. I’m using the numbers provided, but remember, depending on whether you use a super sugary sauce or a lower-sodium dry rub, these figures can swing wildly. Always check your specific BBQ sauce label if you are tracking things closely. They really are just estimates for our **Sticky BBQ Chicken Wings Crispy Oven Style**!
- Serving Size: 4 wings
- Calories: 350
- Fat: 20g
- Saturated Fat: 6g
- Carbohydrates: 15g
- Sugar: 18g (Watch this one—it’s the sauce kicking in!)
- Protein: 25g
- Sodium: 550mg
If you manage to keep your BBQ sauce choice on the lighter side, you can definitely keep that sodium and sugar down. The beauty of making these at home is knowing exactly what goes into your crust and glaze, unlike Mystery Meat takeout wings!
Share Your Perfect Sticky BBQ Chicken Wings Crispy Oven Style Experience
Whew! We did it! We wrestled those wings into submission, got them perfectly crispy in the oven, and then smothered them in that beautiful, thick, sticky glaze—no takeout required!
Now that you’ve had a chance to master the art of the **Sticky BBQ Chicken Wings Crispy Oven Style**, I truly want to hear about it. Did the baking powder trick work its magic for you? Did you manage to stop watching the oven during those last five minutes of caramelization? Please tell me everything!
Don’t be shy—leave a star rating right below this post and tell me in the comments how they turned out. If you experimented because you were out of cayenne pepper or used a secret family BBQ sauce, share that variation too! We home cooks love to swap tips and tricks.
If you need to reach out directly for a question or just want to share a photo of your glorious crispy batch, you can always find the contact form right here. Happy cooking, everyone!
PrintSticky BBQ Chicken Wings Crispy Oven Style
A reliable recipe for baking chicken wings in the oven to achieve a crispy texture and a thick, sticky BBQ glaze.
- Prep Time: 15 min
- Cook Time: 50 min
- Total Time: 65 min
- Yield: 4 servings
- Category: Appetizer
- Method: Baking
- Cuisine: American
- Diet: Gluten Free
Ingredients
- 2 lbs chicken wings (flats and drumettes)
- 1 tablespoon baking powder (aluminum-free)
- 1 teaspoon salt
- 1/2 teaspoon black pepper
- 1/2 teaspoon garlic powder
- 1/4 teaspoon cayenne pepper
- 1 cup your favorite thick BBQ sauce
- 2 tablespoons honey or brown sugar (optional, for extra stickiness)
Instructions
- Preheat your oven to 425 degrees Fahrenheit (220 degrees Celsius). Line a baking sheet with foil and place a wire rack on top of the foil.
- Pat the chicken wings completely dry using paper towels. This step is crucial for crispiness.
- In a large bowl, combine the baking powder, salt, pepper, garlic powder, and cayenne pepper.
- Toss the dry wings in the spice mixture until they are evenly coated.
- Arrange the wings in a single layer on the wire rack, ensuring there is space between each piece.
- Bake for 25 minutes.
- Flip the wings over and bake for another 20 minutes. The skin should look dry and starting to crisp.
- While the wings finish baking, mix the BBQ sauce and honey or brown sugar (if using) in a small saucepan over low heat until combined and slightly warmed. Do not boil.
- Remove the wings from the oven. Increase the oven temperature to 450 degrees Fahrenheit (230 degrees Celsius).
- Brush the wings generously with the BBQ sauce mixture.
- Return the sauced wings to the oven for 5 to 8 minutes, watching closely to prevent burning, until the sauce is caramelized and sticky.
- Remove from the oven and serve immediately.
Notes
- Using a wire rack allows air to circulate around the wings, which helps the bottom crisp up.
- Do not skip drying the wings thoroughly; moisture prevents crisping.
- If you prefer a thicker sauce, simmer your BBQ sauce alone for a few minutes before adding the optional sweetener.
Nutrition
- Serving Size: 4 wings
- Calories: 350
- Sugar: 18
- Sodium: 550
- Fat: 20
- Saturated Fat: 6
- Unsaturated Fat: 14
- Trans Fat: 0
- Carbohydrates: 15
- Fiber: 1
- Protein: 25
- Cholesterol: 90