

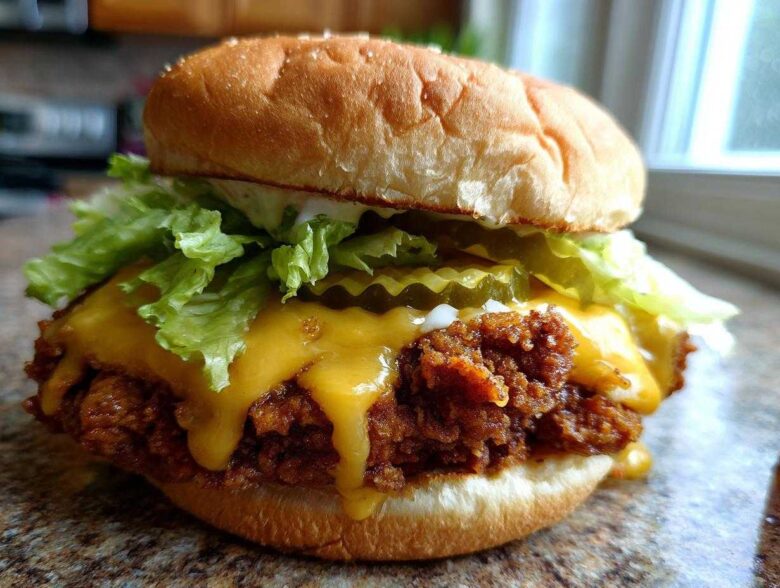
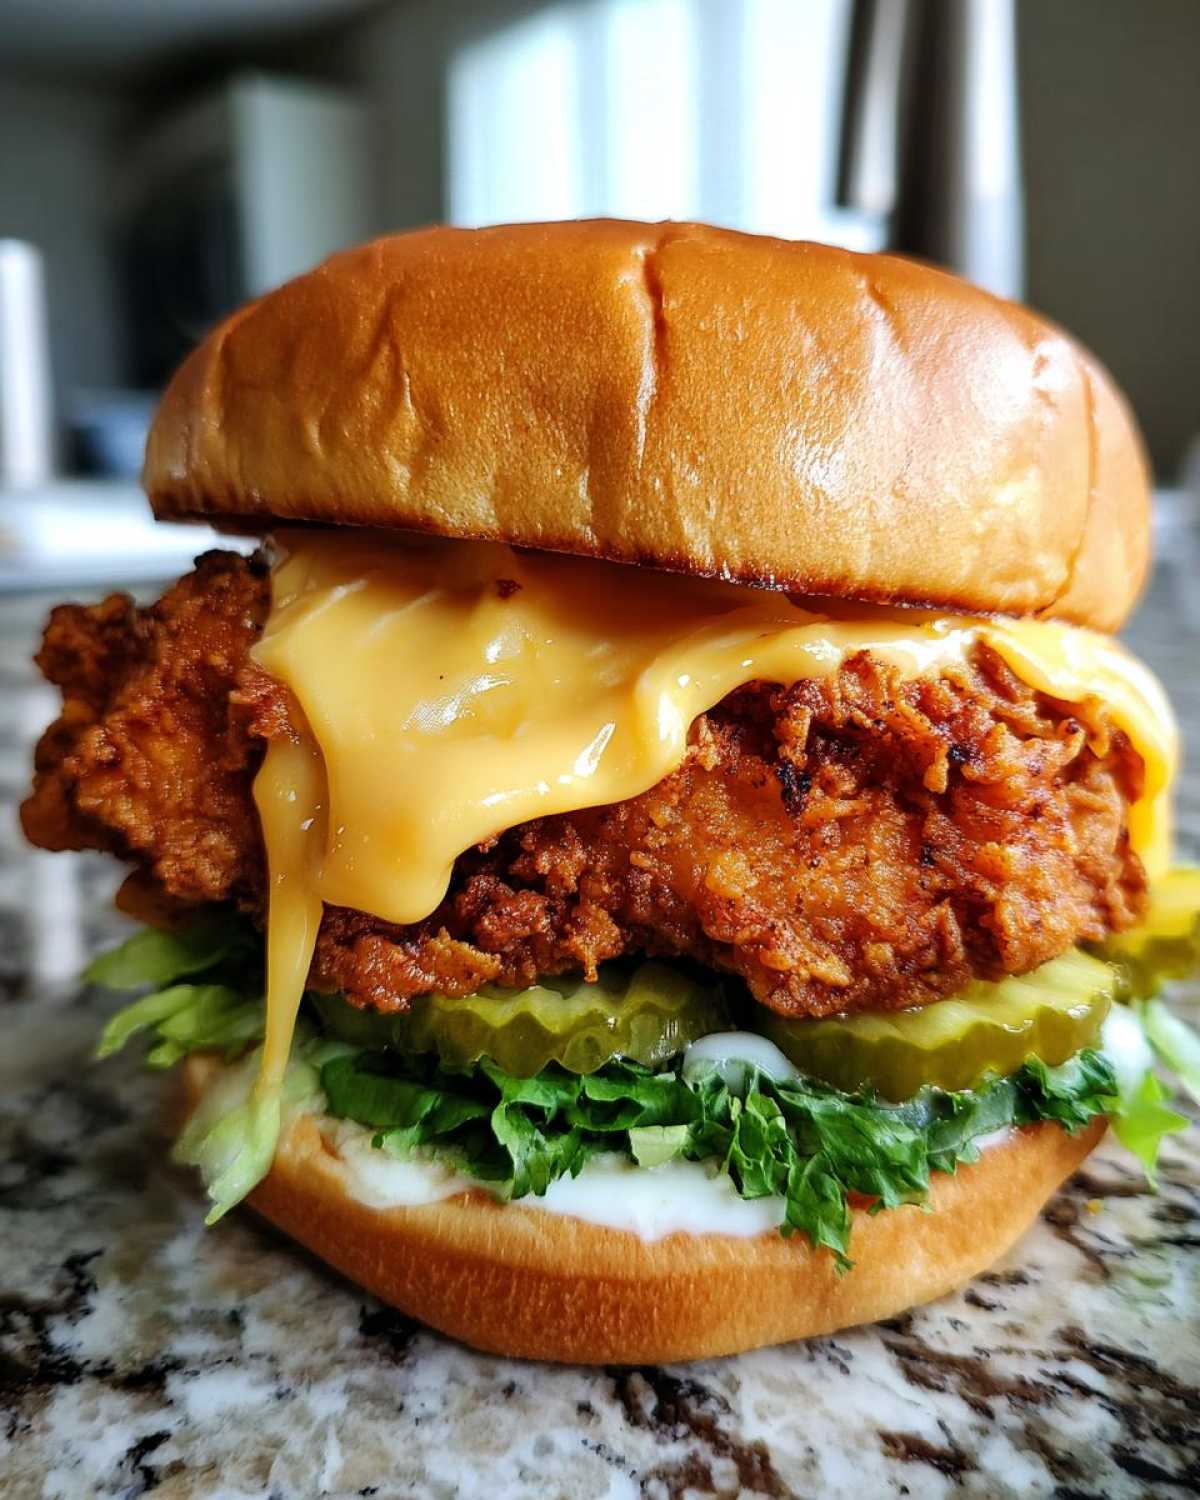
You know that feeling? You take a huge bite of a restaurant chicken sandwich, and you hear that glorious *CRUNCH*? That’s the goal, folks. For years, I thought that level of audible crispiness was only possible by standing over a deep fryer at a local joint. Nope! After way too many batches of soggy disappointments, I finally cracked the code. Forget every sad, limp sandwich you’ve had lately. I’m handing you my secret weapon for the ultimate Crispy Chicken Burger with Melty Cheese. We’re talking a coating so craggy and shatteringly crisp, it actually competes with the gooey embrace of perfectly melted smoked Gouda. Trust me, this double-crunch method changes everything!
Why This Crispy Chicken Burger with Melty Cheese Recipe Works
What makes this recipe stand above the rest? It’s not just one thing; it’s a combination of small tricks that tackle common burger pitfalls head-on. We’re eliminating sogginess and guaranteeing that satisfying cheese pull. If you’ve struggled with coatings that fall off or patties that come out dry, this is the answer you’ve been looking for. It’s how we get that restaurant-quality crunch right here in the home kitchen. Mastering this process is key to making the best crispy chicken wings, and the exact same principles apply here!
- We use a buttermilk soak not just for flavor, but to deeply tenderize the meat, ensuring a juicy inside crispy outside chicken experience.
- The genius is in the batter system—we use two distinct coatings plus cornstarch to create those irresistible, jagged crunchy peaks.
- The cheese goes on right at the end, using the chicken’s residual heat so it becomes completely gooey without you having to overcook the fillet.
The Buttermilk Brine for Juicy Inside Crispy Outside Chicken
Look, chicken breasts can go from perfect to leather awfully fast when you’re frying. That’s why the buttermilk step is non-negotiable! The acid in the buttermilk actually breaks down the protein fibers just enough. It tenderizes the meat while helping the first layer of flour stick like glue. For the best texture, you absolutely need to let those chicken pieces soak for at least two hours. If you can swing it, pulling them out after 12 hours transforms the texture completely—they somehow get juicier!
Mastering the Double Crunch Breading Techniques for Chicken
This is where the *crunch* happens. Most recipes do wet-dry-wet or just a single dredge, which gives you an okay coating. We are going bigger. We take the chicken from the buttermilk, coat it in our flour mix, dip it into a fizzy wet batter (that’s the cold club soda doing magic!), and then dunk it *right back* into the dry flour mix. You have to press hard here! You want those craggy bits to form. That second, rough coating is what creates the thick, crisp shell that holds up against the hot cheese and the sauce.
Gathering Ingredients for Your Crispy Chicken Burger with Melty Cheese
Okay, grabbing our supplies! Since we are making the most epic sandwich imaginable, we need to make sure we have every single component ready to go before we even look at the stove. Having everything measured out is essential, especially when we get to that fast-paced frying stage. Don’t skip the cold club soda—I mean it! It’s what makes our batter super light when it hits the hot oil.
Here’s what you need to pull together this absolute flavor bomb of a Crispy Chicken Burger with Melty Cheese. I’ve broken this down into what you need for the chicken, the cheese melt, and the final toppings, just so things stay organized:
- For the Chicken: 2 boneless, skinless chicken breasts, which you’ll halve horizontally to make four thinner cutlets.
- For the Brine: 1 cup of that essential buttermilk, plus 1 teaspoon each of salt, black pepper, and paprika.
- For the Double Crunch Breading: 1 cup all-purpose flour, 1/2 cup cornstarch (this is our secret weapon for the super crunch!), and 1 teaspoon of baking powder.
- For the Wet Dip: 1 cup of club soda—and this has to be ice cold!
- For Frying: Enough vegetable oil to fill your skillet about two inches deep.
And now for the finish line:
- Buns: 4 sturdy brioche buns work best; they hold up nicely to the juices and sauce.
- The Melt: 4 slices of smoked Gouda cheese. It melts beautifully and has a better flavor than standard cheddar, in my opinion!
- The Sauce: We need 1/2 cup of mayonnaise, 2 tablespoons of hot sauce, and 1 tablespoon of pickle relish. Mix those three together; it’s amazing!
- Toppings: Just some shredded lettuce and a handful of crisp dill pickle chips to balance all that richness.
Seriously, take five minutes right now to check your pantry. Once you have this laid out, the assembly line starts moving fast, and you won’t have time to hunt down the cornstarch!
How to Prepare the Ultimate Crispy Chicken Patty Guide
This is the part where the magic happens, and honestly, it moves quickly once you get into a rhythm. The whole point here is to keep things cold and move fast so you don’t lose that amazing texture we built up in the brine and the dredging station. If you’ve got a buddy helping, this is the perfect assembly line job! I highly recommend reading through all these steps before you even turn the stove on because timing is everything when we start cooking. If you want to deep-dive into the mechanics of coatings, my guide on the best breading techniques for chicken covers all the science behind creating those incredible craggy surfaces!
Marinating and Preparing the Chicken Fillet Sandwich Pieces
First things first: pull your chicken out of that buttermilk bath. Don’t rinse it off! You want that soupy buttermilk clinging to the meat. Let the excess drip off—and I mean really let it drip for a second or two—because too much wetness will ruin the first flour coat. Now, take that fillet and dredge it completely in your dry flour mixture (the one without the baking powder yet). Shake off the heavy excess flour. This first, light coating acts like a tacky barrier for our main event coating.
Achieving the Perfect Crispy Chicken Burger with Melty Cheese Coating
Time for the texture explosion! Take that lightly floured chicken and dip it straight into your fizzy, cold club soda batter mixture—lumps are totally fine, promise! Get it fully drenched. Immediately move it into your final dry flour station. This time, don’t just gently toss it; you need to press that breading firmly onto the chicken. Seriously push down so you create those thick, crunchy edges. This pressing action is what separates a crunchy coating from a mere breading.
Frying Technique for Restaurant Style Crispy Chicken
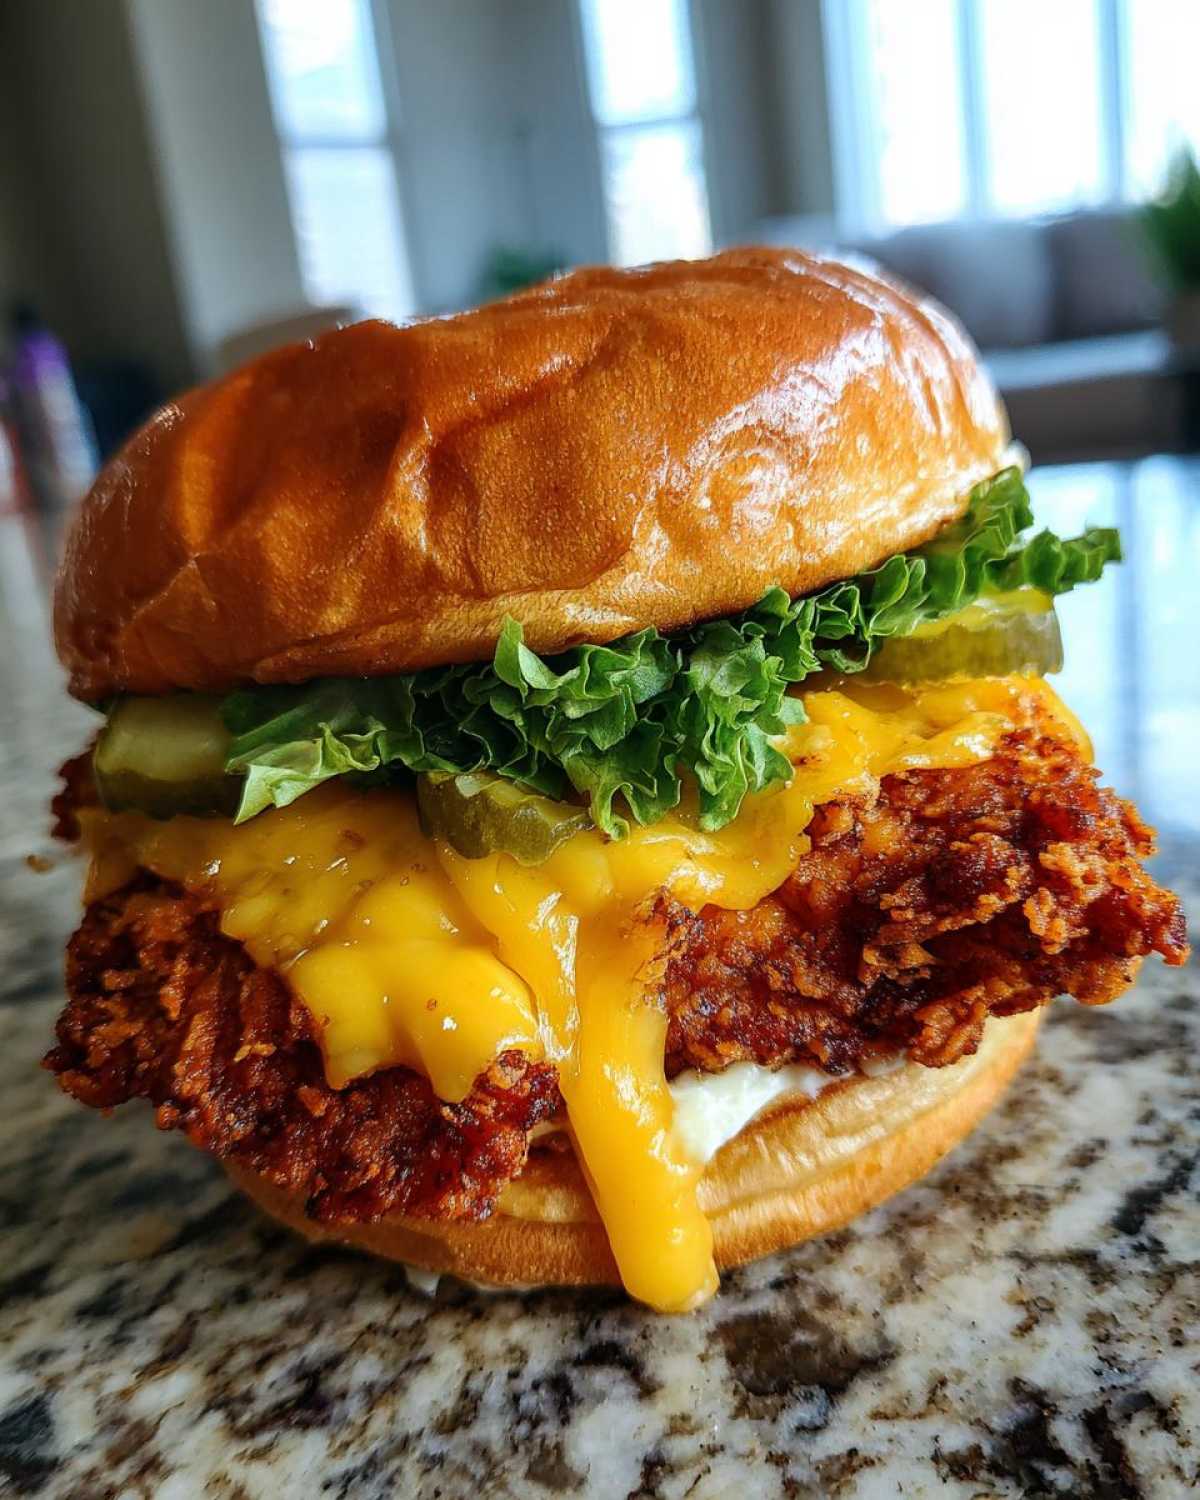
You need your oil ready at exactly 325 degrees Fahrenheit. If it’s too cold, the chicken soaks up grease and gets sad. If it’s too hot, the outside burns before the inside cooks. Get about two inches of oil deep in a heavy pot. Carefully place your breaded cutlets in—don’t jam them in there! If you crowd the pan, the temperature drops instantly. Fry for about 6 to 8 minutes, turning them gently halfway through. You must check that internal temperature; we are aiming for a safe 165 degrees Fahrenheit to guarantee juicy inside crispy outside chicken!
The Secret to Perfectly Melted Cheese Topping on Your Crispy Chicken Burger
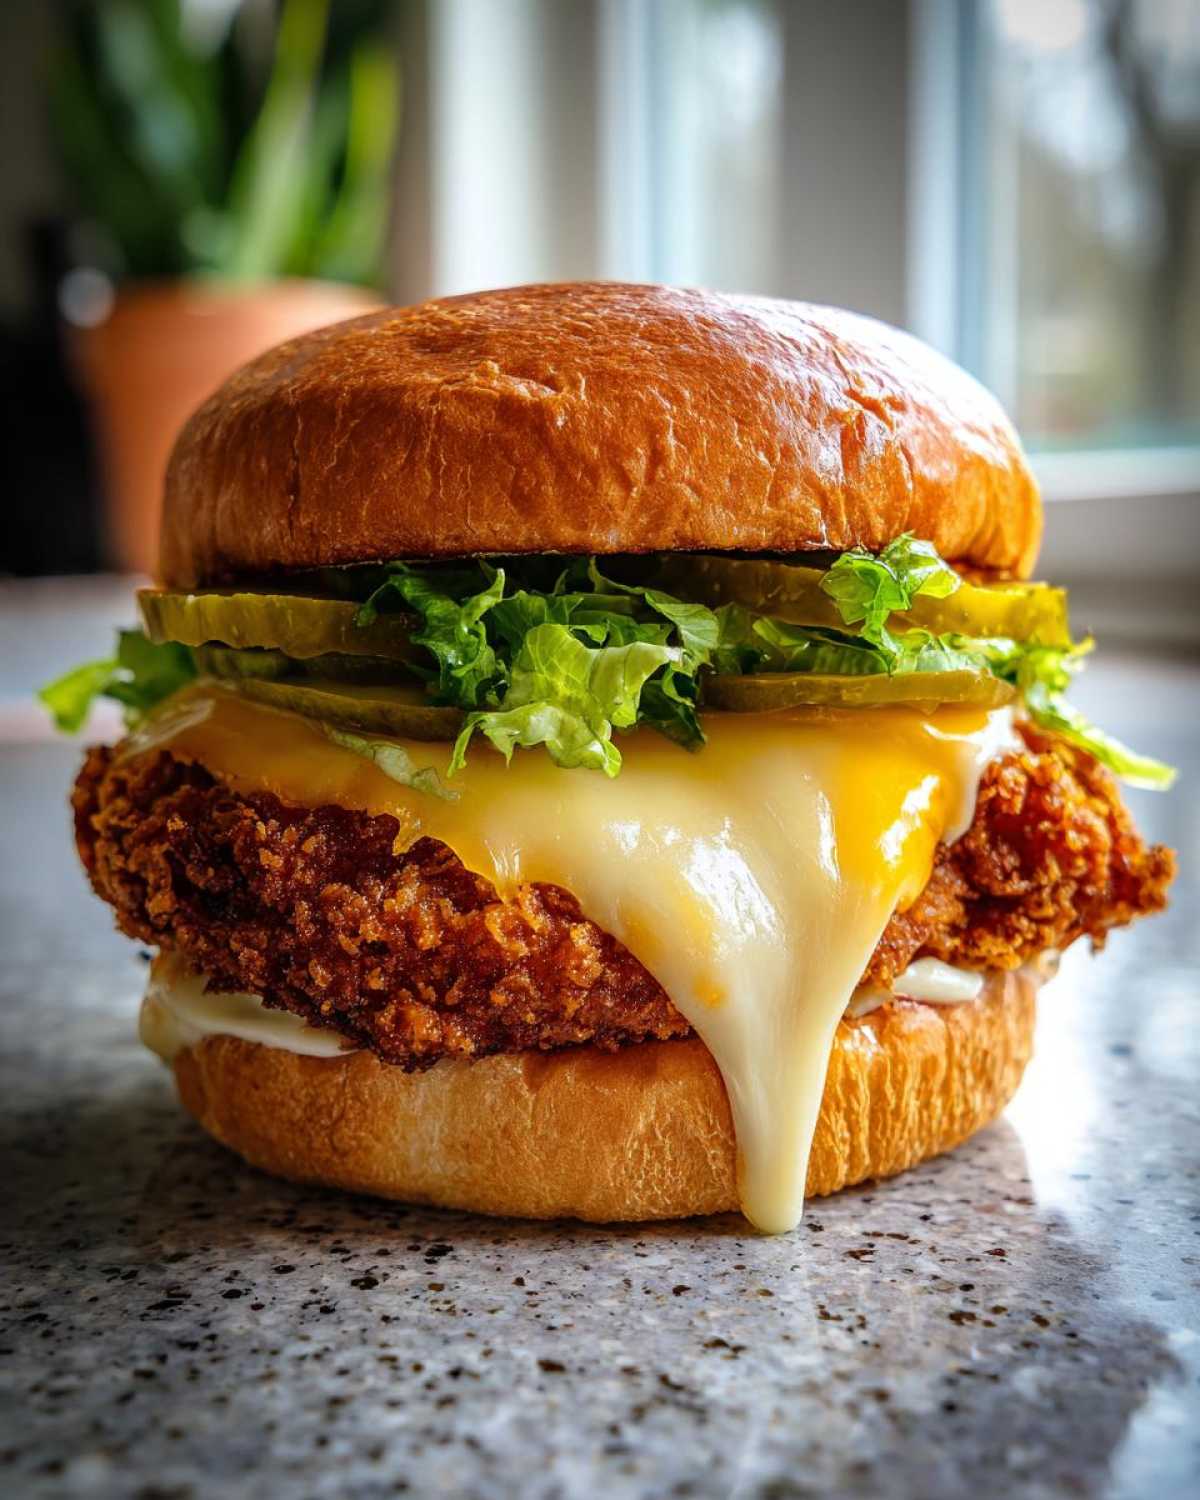
Okay, this step is almost too easy, which is why people mess it up! You want that gorgeous, drippy melt on your ultimate Crispy Chicken Burger with Melty Cheese, right? The second those hot, fresh-out-of-the-oil patties land on the wire rack, you need to immediately lay one slice of that smoked Gouda right on top. Don’t wait! The residual heat trapped inside that amazing, craggy crust is more than enough to melt the cheese perfectly smooth in just two minutes. Believe me, trying to melt it in the pan after it rests just risks overcooking the fillet or making the bottom crust slightly soft. A quick two-minute rest under the cheese dome is all you need for that perfect drip.
Assembling Your Gourmet Cheeseburger Chicken Style
We’ve done the hard work—the brine, the crunch, the glorious melt! Now we just have to put it all together so it tastes as amazing as it looks. A great sauce changes everything, and ours is super simple but packs a punch. I usually make my spicy sauce while the chicken is draining from the fryer. For the best sauce recipe ever, you should check out how to make homemade mayonnaise, but for this sandwich, we’re getting straight to mixing!
To make that spicy sauce (Step 11), just grab a small bowl and whisk together your half-cup of mayonnaise, your 2 tablespoons of hot sauce, and that tablespoon of pickle relish. Taste it! It should be tangy, spicy, and creamy. If you like it hotter, chuck in a little more hot sauce—I usually do!
Now for the final assembly (Step 12) because the order matters for a perfect eating experience. First, take those brioche buns and just lightly toast them cut-side down in a dry pan until they’re slightly golden. This little bit of toasting stops them from getting soggy instantly. Then, spread a generous layer of that spicy sauce on both the top and bottom bun halves.
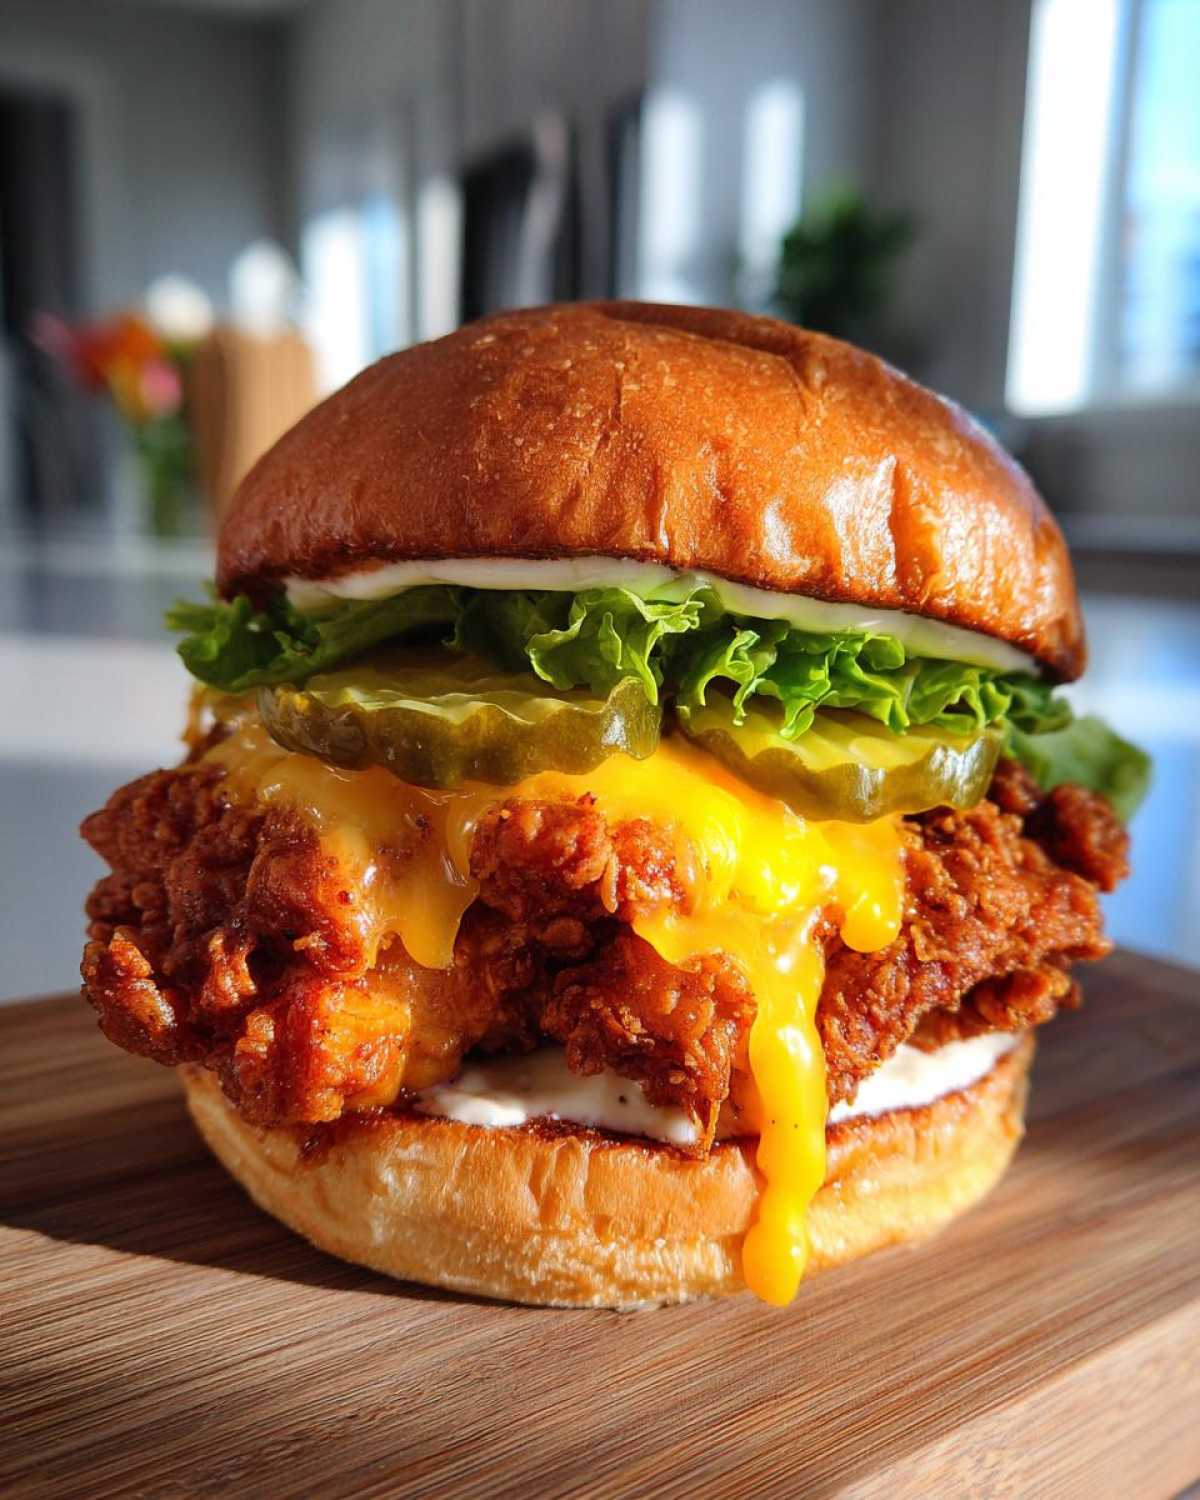
Next, build your foundation on the bottom bun. We want a crisp layer that acts as a barrier, so start with your shredded lettuce. Place a good handful down. Then pile on the pickle chips—I like mine stacked! Finally, gently place that buttery, cheesy chicken cutlet right on top of the pickles. Cap it with the sauced top bun, and BAM. That is your Gourmet Cheeseburger Chicken Style ready to eat!
Tips for Success: Making Crispy Chicken at Home
Look, I know frying can be intimidating, but these little tweaks I learned over the years make producing a fantastic homemade fried chicken burger totally approachable. Remember, these tips are what help maintain that authoritative, restaurant-style crunch we’re aiming for! Don’t stress about the oil; we have backup plans, too.
If you’re feeling like you need an even more weaponized crunch than we already built in, go for the double dip! That’s right, after you finish the final dredge in the flour (Step 6), you can dip that craggy piece back into the wet batter and then back into the dry dredge *one more time*. This builds huge, thick bits of coating that are unbelievably crispy. Just make sure the oil temperature doesn’t drop too much when you add the extra heavy chicken.
Now, if you absolutely must avoid the fryer, we have an option! You can totally bake this, which is great if you’re whipping up a batch for a crowd. Slide that breaded chicken onto a rack placed over a baking sheet—the wire rack is vital to let air circulate. Pop it into a 400-degree oven for about 20 to 25 minutes, flipping halfway through. For the cheese melt, add your Gouda slice for the last two minutes of baking time. Honestly, the texture isn’t quite the same as deep-frying, but it’s still fantastic! For other great batch cooking tips, you might want to check out my guide on learning the best way to handle air fryer frozen shrimp, because technique crossover is huge in the kitchen!
And seriously, always keep that meat thermometer handy. Guaranteeing the chicken hits 165 degrees Fahrenheit internally isn’t just about safety; it stops you from wondering if it’s done, which means you cook it perfectly juicy every single time.
Storage & Reheating Instructions for Leftover Crispy Chicken Burger with Melty Cheese
Nobody wants leftovers sitting around, but if you happen to have an extra patty of this amazing crispy chicken, you definitely don’t want to ruin that crunch when reheating! My absolute, non-negotiable rule is NEVER use the microwave. That’s instant sogginess, and we worked too hard on that coating for that.
Store the components separately. Keep your spicy sauce in a small airtight container, and store any naked chicken patties (without the cheese stuck on) on a plate covered lightly with paper towels in the fridge. To bring that glorious crisp back, use an oven or an air fryer at about 375 degrees Fahrenheit for about 8 minutes!
If you’re reheating the cheesy patty, just slip it in the air fryer for about 5 minutes until the breading is hot and tight again. It totally brings back that fresh-made texture. It’s the same principle I use when reheating my air fryer potato chips—hot dry heat is your friend!
Frequently Asked Questions About This Cheesy Chicken Fillet Sandwich
When you make the ultimate homemade fried chicken burger, folks always have questions about tweaking the method. That’s totally fine! Cooking is personal, and adapting recipes is part of the fun. I’ve gathered the most common things people ask me about achieving that perfect texture and that amazing cheese melt. Feel free to browse these answers, and if you love finding new snack ideas, check out my general category page for fun eats and bites!
Can I make this Crispy Chicken Burger with Melty Cheese in an Air Fryer?
Yes, you absolutely can, and it’s a great way to cut down on oil! We mentioned baking above, but the air fryer is even better for crispiness. You want to use a higher heat, around 380 degrees Fahrenheit. Place your fully breaded chicken (before the cheese goes on) on the rack, making sure there’s space around each piece for the air to circulate. It usually takes about 15 to 18 minutes total. You’ll need to flip them halfway through cooking. Add the cheese during the last 2 to 3 minutes, just until it’s beautifully gooey!
What is the best cheese for achieving a ‘melty’ effect?
Smoked Gouda is my personal favorite because it brings a depth of flavor that complements the richness of the patty and the spicy sauce, and it melts beautifully. However, if you are strictly chasing that classic, ultra-gooey, drape-over-the-side texture, you might want to swap it out. For the absolute best melt, go for thin slices of American cheese—I know, I know, but it’s engineered to melt perfectly! Monterey Jack is another fantastic melting cheese that stays creamy and has a milder flavor that lets the crispy coating shine through.
How do I prevent the coating from separating from the chicken?
This is such a common issue when trying to make restaurant-style crispy chicken at home! The main culprit is usually grease consistency or not pressing hard enough during the final dredge. Make sure your oil is hot enough (325°F) before you drop the chicken in—if the oil is too cool, the coating basically slides off before it has a chance to set. Also, remember that final step where you press the breading into the flour? Push firmly! You are essentially gluing that final layer on, which prevents it from pulling away during the fry.
Sharing Your Homemade Fried Chicken Burger Success
Whew! We made it. You’ve navigated the brine, mastered the crunch, and achieved that divine cheesy melt. Now that you have this incredible Crispy Chicken Burger with Melty Cheese masterpiece in your hands, I want to hear all about it! Seriously, take a picture of that towering success—I live for seeing how my readers tackle these big flavor projects.
Did the double crunch method live up to the hype? Did the smoked Gouda pull just right? Don’t keep all that glory to yourself! Head over to my About Us page if you want to send me a note directly, or just leave a rating below. Let me know how many stars you’re giving this recipe, and if you’ve got any secret topping combinations I haven’t thought of yet. Happy cooking, everyone!
PrintDouble Crunch Fried Chicken Burger with Smoked Gouda Melt
Follow this guide to make a chicken burger with an extremely crispy coating and perfectly melted cheese.
- Prep Time: 20 min
- Cook Time: 15 min
- Total Time: 35 min
- Yield: 4 servings
- Category: Main Course
- Method: Frying
- Cuisine: American
- Diet: Low Lactose
Ingredients
- 2 boneless, skinless chicken breasts, halved horizontally
- 1 cup buttermilk
- 1 teaspoon salt
- 1 teaspoon black pepper
- 1 teaspoon paprika
- 1 cup all-purpose flour
- 1/2 cup cornstarch
- 1 teaspoon baking powder
- 1 cup club soda (very cold)
- Vegetable oil, for frying
- 4 brioche buns
- 4 slices smoked Gouda cheese
- 1/2 cup mayonnaise
- 2 tablespoons hot sauce
- 1 tablespoon pickle relish
- Shredded lettuce, for serving
- Dill pickle chips, for serving
Instructions
- Place the chicken halves in a bowl. Pour buttermilk over the chicken, add salt, pepper, and paprika. Cover and refrigerate for at least 2 hours, or up to 12 hours.
- Prepare the dry dredge: In a shallow dish, whisk together the flour, cornstarch, and baking powder.
- Prepare the wet batter: In a separate bowl, whisk the club soda into the dry dredge mixture until just combined. Do not overmix; lumps are fine.
- Remove chicken from buttermilk, letting excess drip off. Dip the chicken into the dry dredge, coating completely. Shake off excess flour.
- Dip the floured chicken back into the wet batter, ensuring it is fully coated.
- Immediately return the chicken to the dry dredge. Press the breading firmly onto the chicken to create craggy, thick pieces. Set aside on a wire rack while you heat the oil.
- Heat 2 inches of vegetable oil in a deep skillet or Dutch oven to 325 degrees Fahrenheit.
- Carefully place chicken into the hot oil, ensuring not to overcrowd the pan. Fry for 6 to 8 minutes, turning occasionally, until golden brown and cooked through (internal temperature of 165 degrees Fahrenheit).
- Remove chicken and place on a clean wire rack set over a baking sheet. Immediately place one slice of Gouda cheese on top of each hot patty. Let rest for 2 minutes to allow the cheese to melt.
- While the chicken rests, lightly toast the brioche buns.
- Mix the mayonnaise, hot sauce, and relish to create the spicy sauce.
- Assemble the burgers: Spread the spicy sauce on both halves of the toasted buns. Place shredded lettuce and pickle chips on the bottom bun. Top with the cheesy chicken patty and the top bun.
Notes
- For extra crispiness, you can double-dip the chicken in the wet batter and dry dredge one more time before frying.
- If you prefer baking, place the breaded chicken on a rack over a baking sheet and bake at 400 degrees Fahrenheit for 20-25 minutes, flipping halfway, then add cheese for the last 2 minutes.
- Use a meat thermometer to confirm the chicken reaches 165 degrees Fahrenheit internally to guarantee safety and juiciness.
Nutrition
- Serving Size: 1 burger
- Calories: 650
- Sugar: 8
- Sodium: 950
- Fat: 35
- Saturated Fat: 12
- Unsaturated Fat: 23
- Trans Fat: 0
- Carbohydrates: 45
- Fiber: 2
- Protein: 40
- Cholesterol: 150