

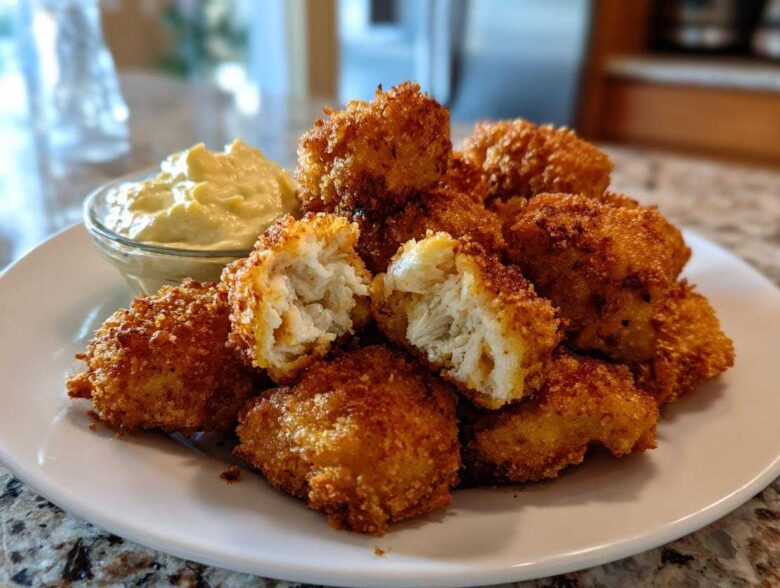
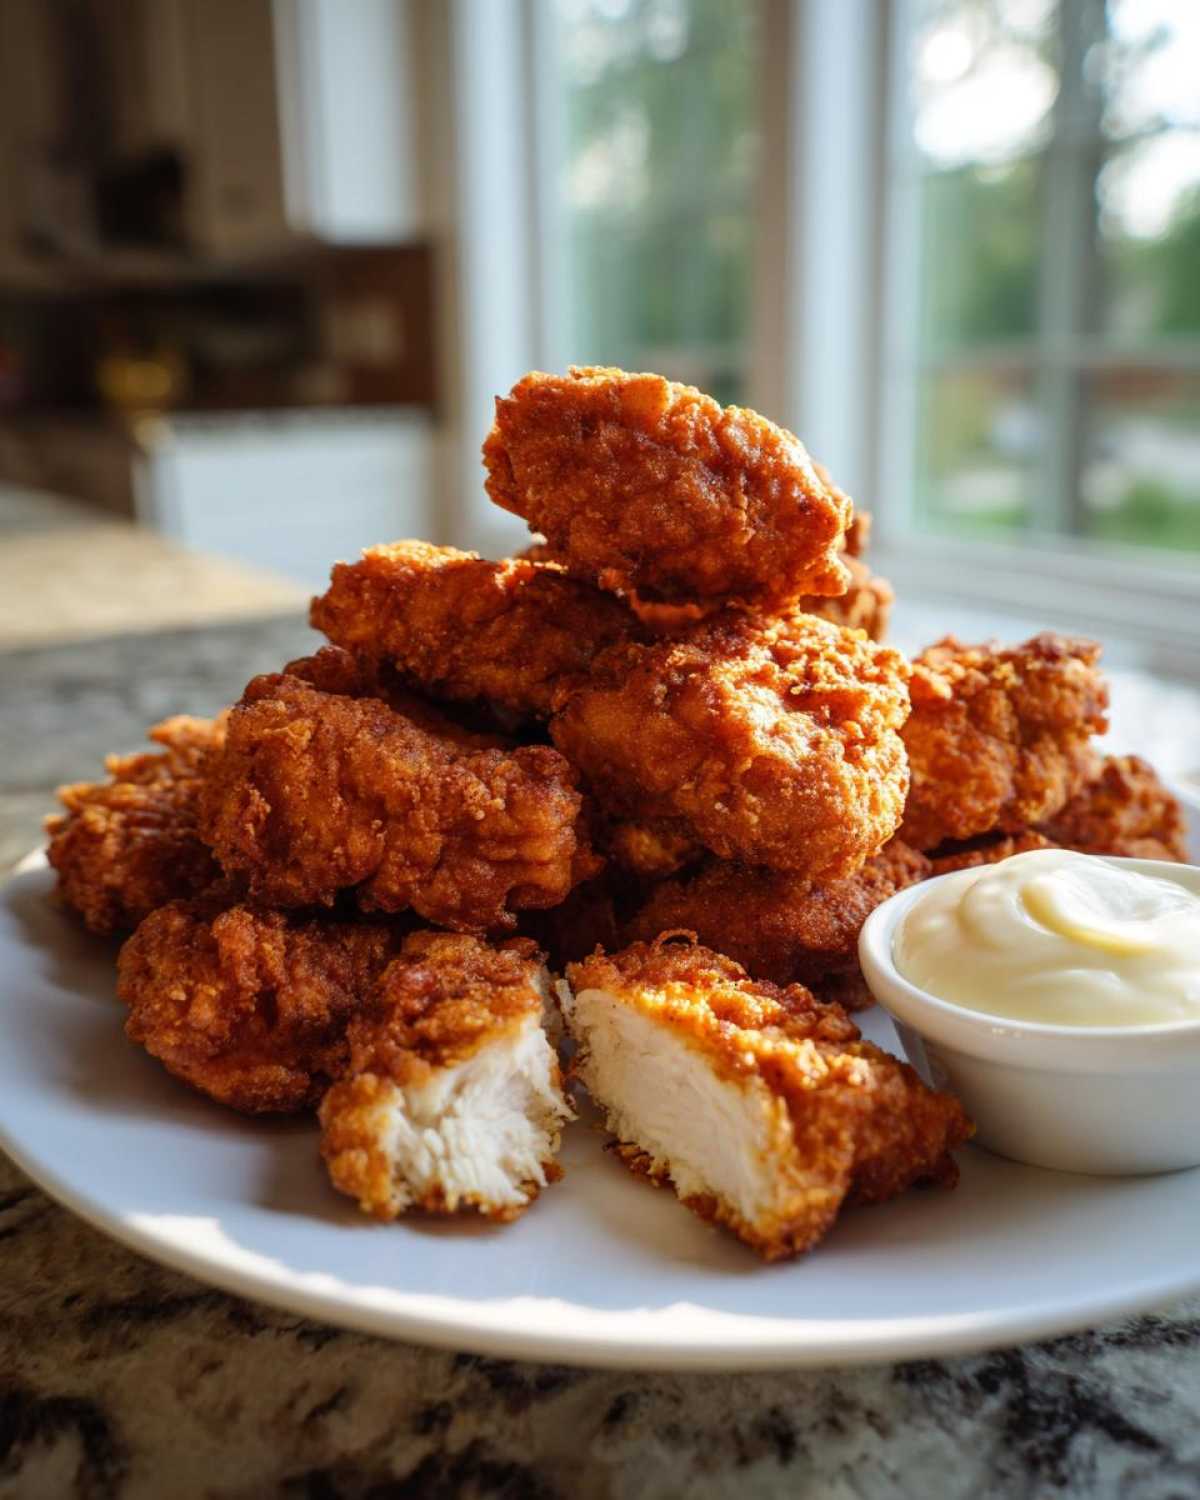
Forget those sad, soggy things you get from the drive-thru! I spent way too many weekends testing flour ratios and oil temperatures, but I finally cracked the code. I’m telling you, this recipe for **Crispy Chicken Nuggets with Garlic Dip** delivers that unforgettable, aggressive crunch you only find at the best spots. The magic isn’t luck; it’s all in that double-dredging trick we use for the coating. And that creamy garlic dip? Forget about it. This recipe is my family’s weeknight MVP now. You simply won’t believe these came from your own kitchen. Check out the full steps over at the main recipe index if you want the whole rundown!
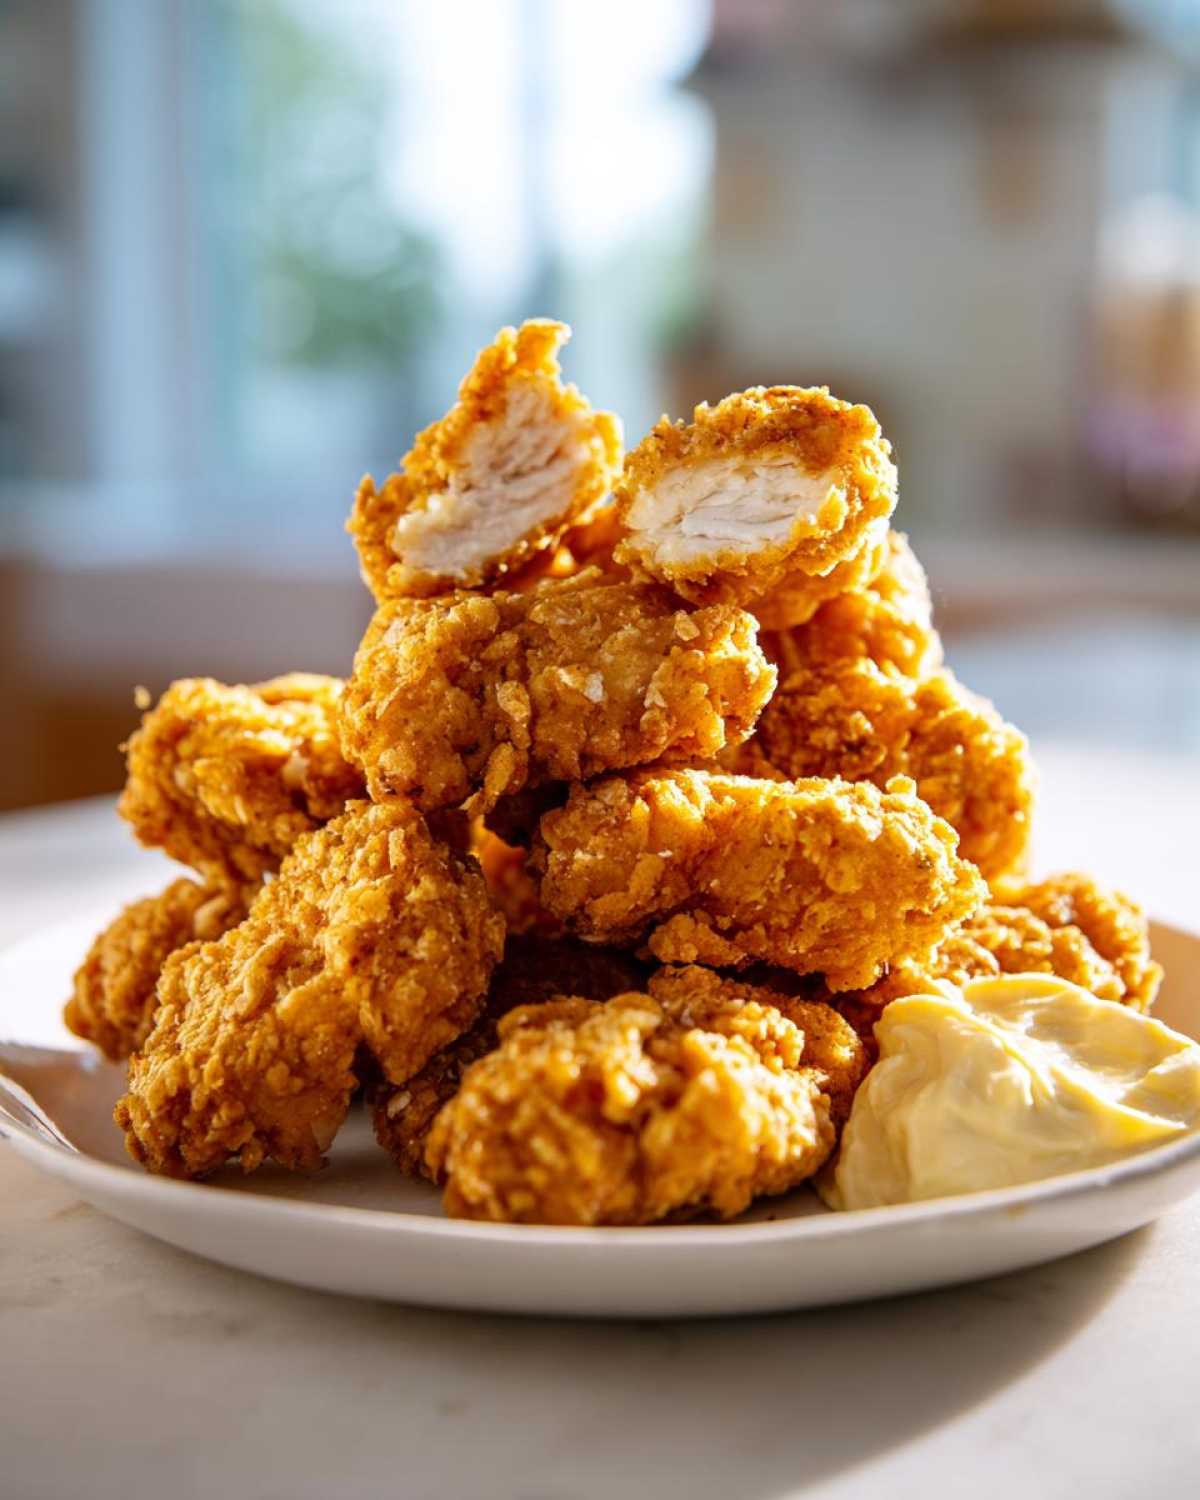
Why This Recipe Makes the Best Crispy Chicken Nuggets with Garlic Dip
So, why bother making nuggets from scratch when you can buy them frozen? Because ours are astronomically better, that’s why! This recipe isn’t just about making food; it’s about perfecting texture. We hit all the marks you’re looking for—intense crunch and phenomenal dipping flavor.
- The flavor profile is spot-on; no weird filler taste here, just pure, seasoned chicken.
- These hold up! They stay crunchy longer than most recipes I’ve tested.
- The garlic dip is so easy, it feels like cheating, but trust me, it’s miles ahead of store-bought sauce.
The Secret to the Ultimate Crunch: Double Dredging
This is crucial, folks. If you skip this part, you’re going to get okay nuggets, not *the best* nuggets. We dip the chicken into the flour, then egg, then panko, and then—here’s the kicker—we do the egg and panko again! That double layer of coating creates those amazing, jagged edges that fry up super crispy. And listen, standard breadcrumbs just won’t do it; you have to use Panko.
Perfectly Seasoned Homemade Chicken Bites
I balanced the spices in the breading so they taste like you spent all day prepping them, but honestly, it takes two minutes. A little smoked paprika and garlic powder go a long way! These Homemade Chicken Bites are savory, never bland, and perfectly satisfying, which is exactly what you want when you’re craving fast food quality at home.
Gathering Ingredients for Crispy Chicken Nuggets with Garlic Dip
Okay, gathering your crew of ingredients is the easiest part, but you need to have everything laid out properly before you start dipping. We’re making two things here: the crunchy nuggets and the unbelievably bright dipping sauce. Trust me, when you see that list, you’ll realize you already have most of this stuff!
Ingredients for the Crunchy Chicken Coating and Chicken
First, get your 1.5 pounds of boneless, skinless chicken breasts cut into uniform 1-inch pieces. Consistency here equals consistent cooking time, which is super important. You’ll also need the dredging basics: one cup of flour, two beaten eggs, and one and a half cups of Panko breadcrumbs.
Don’t forget to salt and pepper those raw chicken pieces lightly before they start their journey through the dredge! The seasoning mix also needs a little paprika and garlic powder mixed right into the Panko.
Ingredients for the Easy Garlic Dipping Sauce Recipe
This is where things get fun. For the sauce, you need half a cup of good mayonnaise—I highly recommend using my homemade mayo recipe if you have time! Then grab two cloves of garlic, but you have to mince them—like, ridiculously fine. A little flavor boost comes from one tablespoon of Dijon mustard and a tablespoon of fresh lemon juice.
We need just a splash of water to get the consistency right for dipping. This simple combination creates an Easy Garlic Dipping Sauce Recipe that tastes fresh and zesty!
Step-by-Step Instructions for Crispy Chicken Nuggets with Garlic Dip
Alright, this is where the actual work happens, but honestly, once you see how fast these come together, you’ll be amazed. Organization is everything when you’re breading things. You need your dipping station ready to go before the chicken even touches the flour. This process ensures the coating sticks perfectly, which is how we get that gorgeous crispiness!
Preparing the Chicken and Setting Up the Dredging Station
Step one, and this matters! Make sure your 1-inch chicken pieces are totally dry. Grab some paper towels and pat every side down. Excess moisture means the flour won’t stick! Then, set up your three stations: one dish with plain flour, the second with your two beaten eggs, and the third loaded with your seasoned Panko breadcrumbs (that’s the flour, salt, pepper, paprika, and garlic powder all whisked together).
Mastering the Double-Dredge Technique for the Best Chicken Nugget Recipe
Now for the fun part that makes these the Best Chicken Nugget Recipe. Dredge that dry chicken first in the flour—shake off the excess. Next, dip it fully in the egg, letting the extra drip off back into the bowl. Now, press it firmly into the Panko. Here’s the secret: repeat that coating process! Dip it back into the egg for just a quick second, then coat it in the Panko again, pressing hard everywhere. You want those rough, craggy bits that catch the hot oil!
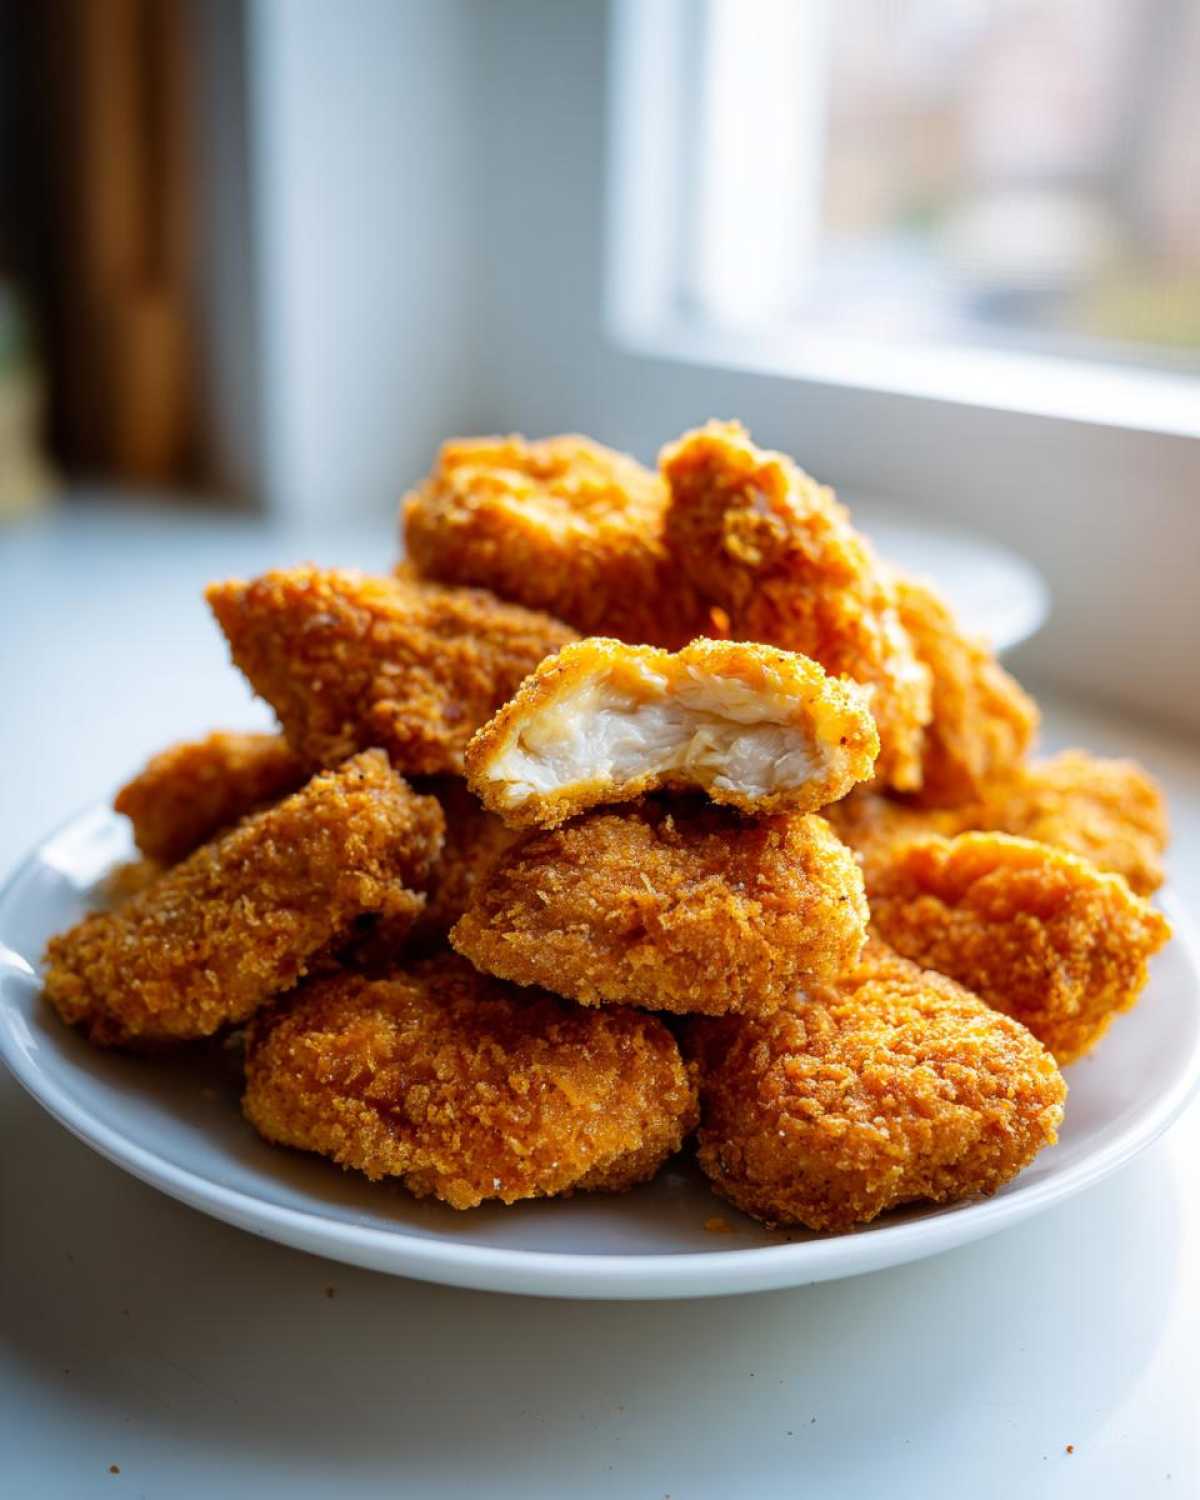
Making the Homemade Garlic Aioli for Dipping
While the nuggets set up for a minute, whip up that dip (step 5). Just whisk your mayonnaise, that very finely minced garlic, Dijon mustard, and lemon juice together. It’s going to look thick at first, which is fine. Keep adding water, a teaspoon at a time, stirring between each addition until it just flows nicely off a spoon. It really brightens up the flavor, which you can pair with my recipe for homemade garlic butter if you’re feeling adventurous!
Cooking the Crispy Chicken Nuggets with Garlic Dip
Get your oil hot—you need it at a steady 350°F (175°C). If the oil isn’t hot enough, your nuggets get greasy, guaranteed. Carefully lower about 6 to 8 coated nuggets in at a time; don’t crowd them or the oil temp will crash! Fry them for only about 3 to 4 minutes, turning them gently until they are deep golden brown and reach that safe internal temperature of 165°F. Use a slotted spoon to pull them out and place them immediately on a clean wire rack to drain. That rack lets the air circulate so the bottoms don’t steam!
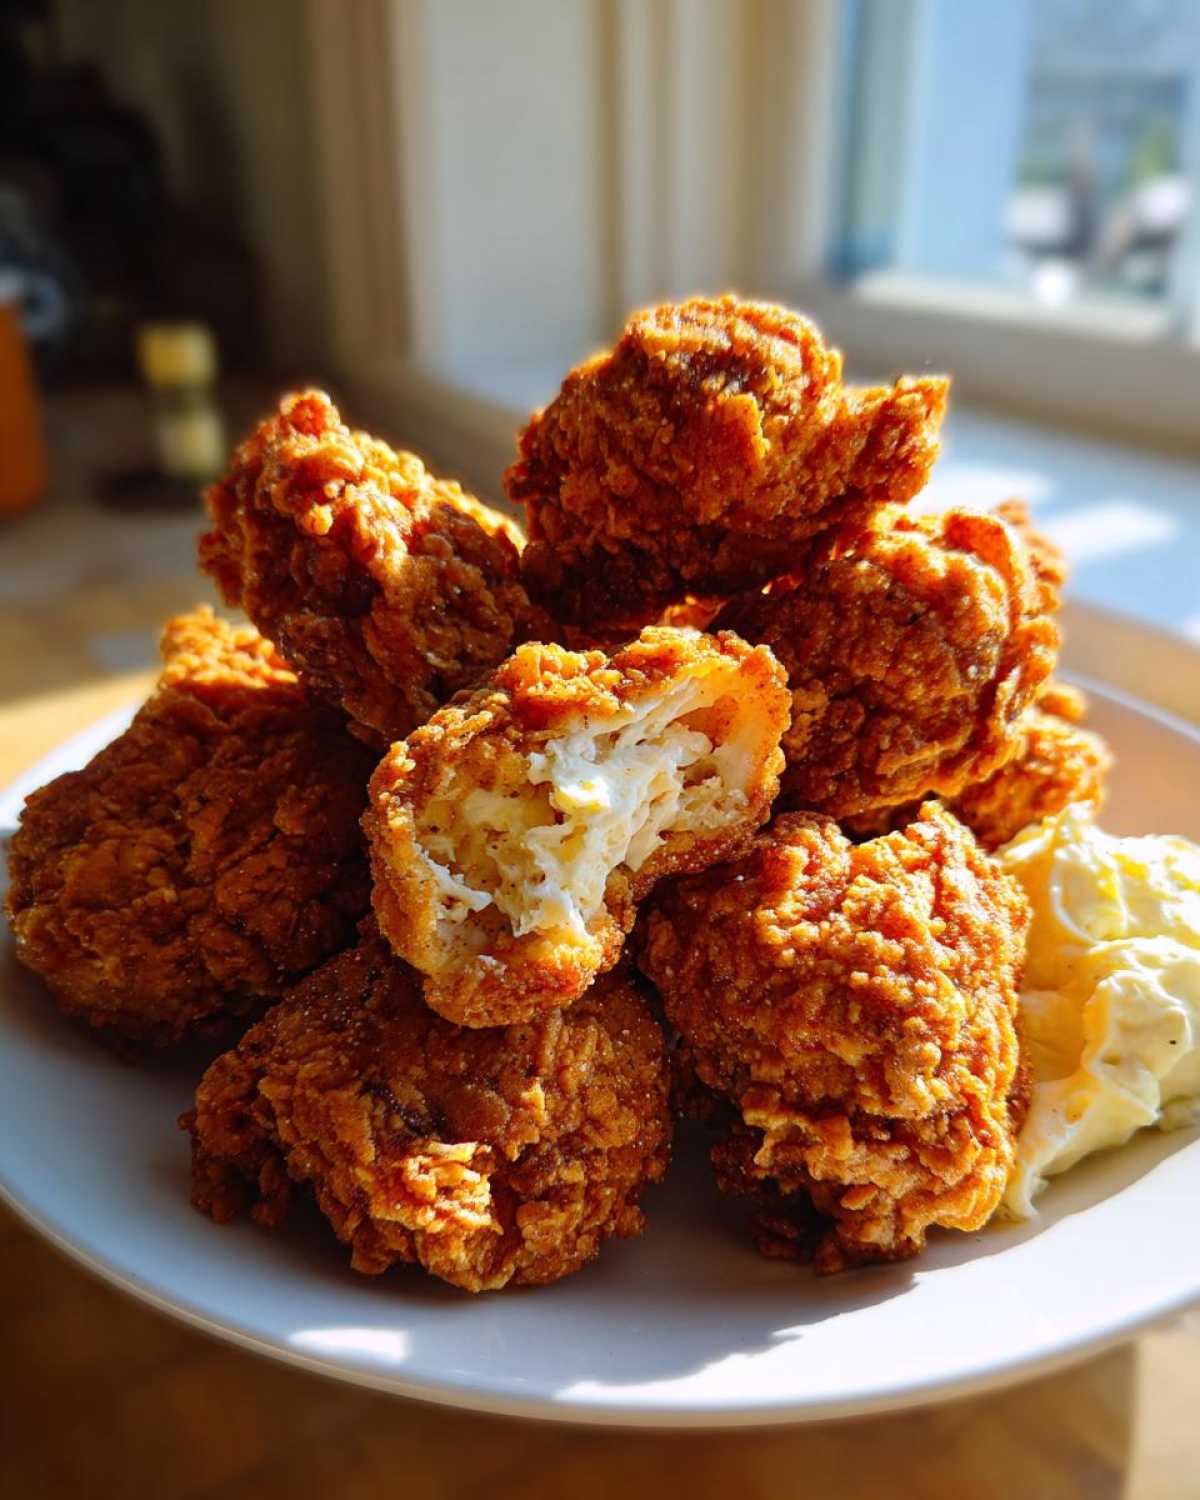
Tips for Success: Achieving Perfectly Seasoned Chicken Nuggets
Look, I want every single person who tries this to end up with the crispiest nuggets on the block! Getting that crunch isn’t just about the double dip; it’s about realizing that the breading is the whole story here. I’ve learned a few things over the years about keeping things crunchy, whether you fry them or use one of those fancy air cookers.
The Importance of Panko in Your Crispy Chicken Coating
I’m going to say this one more time because I need you to trust me on this: Do not use regular breadcrumbs. Just don’t. Panko breadcrumbs are made from crustless bread that’s left flakier and airier, which is why they toast up so beautifully golden and stay crunchier longer. When you press that double layer on, those big Panko flakes create little valleys and peaks on the surface. Those peaks are what stand up to the hot oil and turn into that shatteringly crisp coating we are aiming for. If you want truly crunchy breaded chicken strips, Panko is your only friend here.
Alternative Cooking Methods: Air Fryer Chicken Nuggets Crispy
I know not everyone wants to deal with deep frying, and I totally get it. The good news is that you can still get fantastic results striving for Air Fryer Chicken Nuggets Crispy! The key difference is that the air fryer relies on hot air circulation, so it needs a little fat assistance to get golden brown.
After you’ve done your double dredge and pressed those crumbs on tight, give the exterior of the nuggets a really good, even spray with your cooking oil. Don’t just spritz them—make sure they look slightly damp all over. Then, lay them out in a single layer in the air fryer basket. Set your temperature to 400°F (200°C) and cook them for about 10 to 12 minutes, flipping them carefully halfway through. If you check out my in-depth guide on the secret to crispy chicken coating, you can see tons of variations for achieving crunch!
Make Ahead Chicken Nuggets and Storage Instructions
I totally get it; sometimes you just don’t have 35 minutes mid-week for nuggets. The great news is that these are amazing for planning ahead! You can absolutely freeze your raw, breaded nuggets. Just make sure you put them on a baking sheet single-layered first, sort of like setting up a small army, until they are rock solid in the freezer. Then, you can toss the frozen nuggets right into your hot oil or air fryer—just remember to cook them a little longer!
For any cooked leftovers, store them in an airtight container in the fridge for up to three days. To reheat them and bring back some of that crunch, skip the microwave! Use your oven or air fryer for five minutes to revive the glorious texture. These Make Ahead Chicken Nuggets make for the best emergency kid-friendly dinner.
Serving Suggestions for Your Kid Friendly Chicken Dinner Idea
A stack of perfectly crispy nuggets deserves some equally awesome sides, right? You can’t just serve them with the garlic aioli and call it a day, though they are great on their own! I always like to balance out the deep-fried goodness with something fresh or something that soaks up that extra sauce.
For the ultimate pairing that makes this a certified Kid Friendly Chicken Dinner Idea, you have to do classic fries. But if you want to go slightly healthier, roasted sweet potato wedges are amazing—the sweetness really plays well with the savory spices on the chicken.
If you are serving these to grown-ups or need to sneak in some veggies, carrots sticks and celery sticks are perfect for dipping into that remaining garlic sauce. They offer a needed cool crunch. Or, if you are having a lazy night but want carbs covered, you can never go wrong with my recipe for slow cooker mashed potatoes; just mash them up and use them as an extra dip base!
Frequently Asked Questions About Crispy Chicken Nuggets
I get so many messages after people try this recipe, and most of them cover the same few things—usually about how to nail that crunch or what to do if you ran out of something. I totally get it; cooking is all about knowing the little tricks!
Can I use chicken tenders or breast meat for these Crispy Chicken Nuggets?
You absolutely can! I suggest using skinless breast meat because you can cut it into nice, uniform, bite-sized pieces, which helps everything cook evenly and quickly. If you use chicken tenders or strips, just make sure you cut them to about the same size as the nuggets so they all finish frying in that 3-to-4-minute window. We want them all evenly cooked, whether they are technically nuggets or strips!
How do I make the Garlic Aioli for Dipping sauce without mayonnaise?
That’s a tough one because the richness of mayo really makes the Garlic Aioli for Dipping shine! If you absolutely can’t use mayo, the next best thing for body and tang is going to be full-fat Greek yogurt. It will obviously change the flavor profile a little bit—it becomes sharper and less rich—but it still works great for dipping! You’ll probably need a touch more Dijon mustard to round out that flavor when you substitute the yogurt.
What is the best oil temperature for frying to keep the nuggets from getting greasy?
If you remember one thing from this whole recipe, remember the temperature: 350°F (175°C). This is the golden zone for deep frying! If your oil is too cool—say, under 325°F—the Panko coating soaks up all that oil before it has a chance to seal and crisp up, right? That’s how you get greasy, limp results. If it’s too hot, the outside burns before the center of your chicken is safe to eat. Keep that thermometer handy, as that steady heat is the key to success for your Copycat Crispy Nuggets!
Estimated Nutritional Data for Crispy Chicken Nuggets with Garlic Dip
So, here’s the deal on the numbers. Since we are dealing with deep frying, these aren’t exactly a spa salad, but they are way better than when you compare them to the fast-food versions! I ran the numbers on the recipe components—the chicken, the flour, the oil absorption, and that dreamy garlic dip—and this is what you’re looking at.
Please remember this is totally an estimate based on the measurements I used. If you go light on the oil or use lean chicken breast, your fat content might dip a little! But this gives you a good ballpark idea of what you’re enjoying.
- Calories: Roughly 380 per serving (about 6 nuggets)
- Protein: A solid 25 grams—that chicken really packs a punch!
- Fat: Around 22 grams total, with 4 grams being saturated fat.
- Carbohydrates: About 20 grams (mostly from the breading).
- Sodium: Typically coming in at 450 mg.
We keep the sugar nice and low—just 2 grams—which proves these From Scratch Chicken Nuggets taste amazing without needing tons of hidden sweeteners!
Share Your Homemade Chicken Bites Experience
I mean it—I want to see what you came up with! Making these Homemade Chicken Bites is just the first step; the fun part is watching you all enjoy them. Did you manage to get that ultimate crunch we talked about? Did your family even notice they weren’t from the freezer bag?
Seriously, please drop a comment below! I love hearing about what little tweaks you made, or if you thought the garlic dip was just too good. Your feedback helps me keep perfecting these recipes for everyone.
If you snap a photo while you’re dipping those golden nuggets into the aioli, make sure to tag me on social media! I always scroll through and share my favorites. If you need to get in touch for questions or just want to say thanks, you can always reach out via the contact page here. Happy crunching!
PrintThe Ultimate Double-Dredged Crispy Chicken Nuggets with Creamy Homemade Garlic Aioli Dip

Follow this step-by-step guide to make homemade chicken nuggets with an extra crunchy coating and a simple, flavorful garlic dipping sauce.
- Prep Time: 20 min
- Cook Time: 15 min
- Total Time: 35 min
- Yield: 4 servings
- Category: Dinner
- Method: Deep Frying
- Cuisine: American
- Diet: Low Fat
Ingredients
- 1.5 lbs boneless, skinless chicken breasts, cut into 1-inch pieces
- 1 cup all-purpose flour
- 2 large eggs, beaten
- 1.5 cups panko breadcrumbs
- 1 teaspoon salt
- 1/2 teaspoon black pepper
- 1/2 teaspoon paprika
- 1/4 teaspoon garlic powder
- Vegetable oil, for frying (about 2 inches deep)
- 1/2 cup mayonnaise
- 2 cloves garlic, minced very fine
- 1 tablespoon fresh lemon juice
- 1 teaspoon Dijon mustard
- 1 tablespoon water (for thinning dip)
Instructions
- Prepare the chicken: Pat the chicken pieces completely dry with paper towels. Season lightly with salt and pepper.
- Set up the dredging station: Place flour in one shallow dish. Whisk eggs in a second dish. Mix panko breadcrumbs, remaining salt, pepper, paprika, and garlic powder in a third dish.
- Double-dredge for crispiness: Take one piece of chicken and coat it thoroughly in flour, shaking off the excess. Dip it into the egg mixture, letting excess drip off. Immediately coat it completely in the seasoned panko breadcrumbs, pressing gently so the crumbs adhere well.
- Repeat the coating process: Dip the breaded chicken piece back into the egg wash briefly, then coat it again in the panko breadcrumbs. Press firmly to create a thick, craggy crust. Place coated nuggets on a wire rack.
- Prepare the dip: In a small bowl, combine mayonnaise, minced garlic, lemon juice, and Dijon mustard. Stir until smooth. Add water one teaspoon at a time until you reach your desired dipping consistency.
- Cook the nuggets: Heat the oil in a deep, heavy-bottomed pot or deep fryer to 350°F (175°C).
- Fry in batches: Carefully place 6-8 nuggets into the hot oil, ensuring you do not overcrowd the pot. Fry for 3 to 4 minutes, turning occasionally, until golden brown and cooked through (internal temperature reaches 165°F or 74°C).
- Drain: Remove nuggets with a slotted spoon and place them on a clean wire rack set over a baking sheet to drain excess oil.
- Serve immediately with the homemade garlic aioli dip.
Notes
- For an air fryer method, spray the coated nuggets lightly with cooking spray and cook at 400°F (200°C) for 10 to 12 minutes, flipping halfway through.
- To make ahead, freeze the raw, breaded nuggets on a baking sheet until solid, then transfer them to a freezer bag. Cook directly from frozen, adding 2-3 minutes to the cooking time.
- Use panko breadcrumbs; they provide superior crunch compared to standard breadcrumbs.
Nutrition
- Serving Size: 6 nuggets
- Calories: 380
- Sugar: 2
- Sodium: 450
- Fat: 22
- Saturated Fat: 4
- Unsaturated Fat: 18
- Trans Fat: 0
- Carbohydrates: 20
- Fiber: 1
- Protein: 25
- Cholesterol: 95