

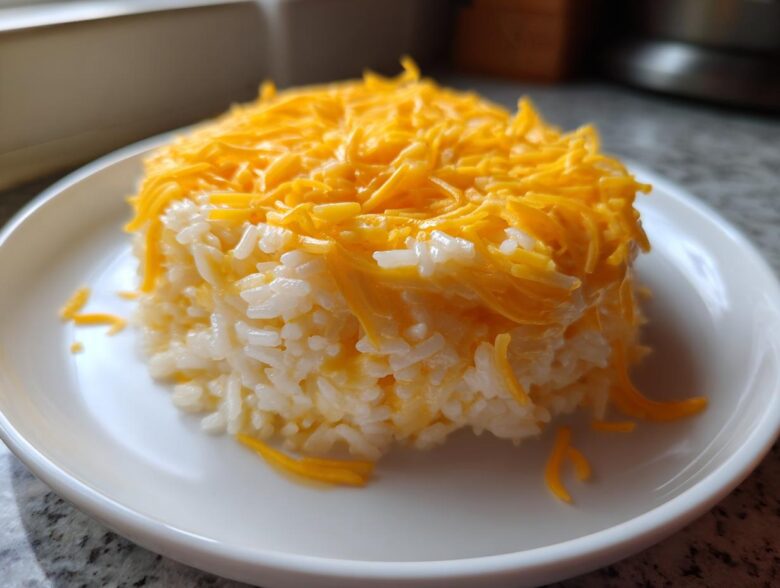
We all need those meals, right? The ones that wrap you up like a warm blanket when the day has been too long or too complicated. For us here at the Empire, that means the absolute best Comfort Food Rice: my famous stovetop cheesy rice! Noah, bless his strategic heart, loves this recipe because it involves zero oven time and minimal cleanup—it’s efficiency you can taste. Forget those 50-minute bakes; this creamy goodness comes together on the stove in about 30 minutes flat. We needed a reliable side that always delivered that luxurious, gooey texture without derailing our evening plans, and trust me, we nailed the blueprint for this one. It’s simple, it’s fast, and it’s absolutely essential for any busy weeknight meal lineup.
Why This Creamy Stovetop Cheesy Rice Recipe Is Your New Weeknight Hero
When I’m running the operations in the kitchen after a long day, I don’t want complexity; I want results, and I want them fast. This stovetop method for cheesy rice is honestly the best thing we’ve added to our rotation. It really delivers that **Easy Cheesy Rice Recipe** vibe without sacrificing an ounce of flavor. It’s hearty, it’s cheesy, and cleanup is ridiculously simple.
Here’s why this becomes your go-to:
- It’s a genuine **Quick Cheesy Rice Dinner** solution—prep is five minutes, cook time is basically hands-off.
- Everything happens in one medium saucepan. Seriously, just one!
- The sauce relies on a strategic blend of dairy to break down perfectly.
Speed and Simplicity: The 30 Minute Rice Side
We’re talking fully cooked, perfectly sauced rice ready to eat in half an hour, max. That’s the beauty of the stovetop approach here. You aren’t waiting on an oven to preheat, and you aren’t dirtying a huge casserole dish. You toast the rice, simmer it in broth, and then melt in the cheese. Done. It’s the definition of a fantastic **30 Minute Rice Side**.
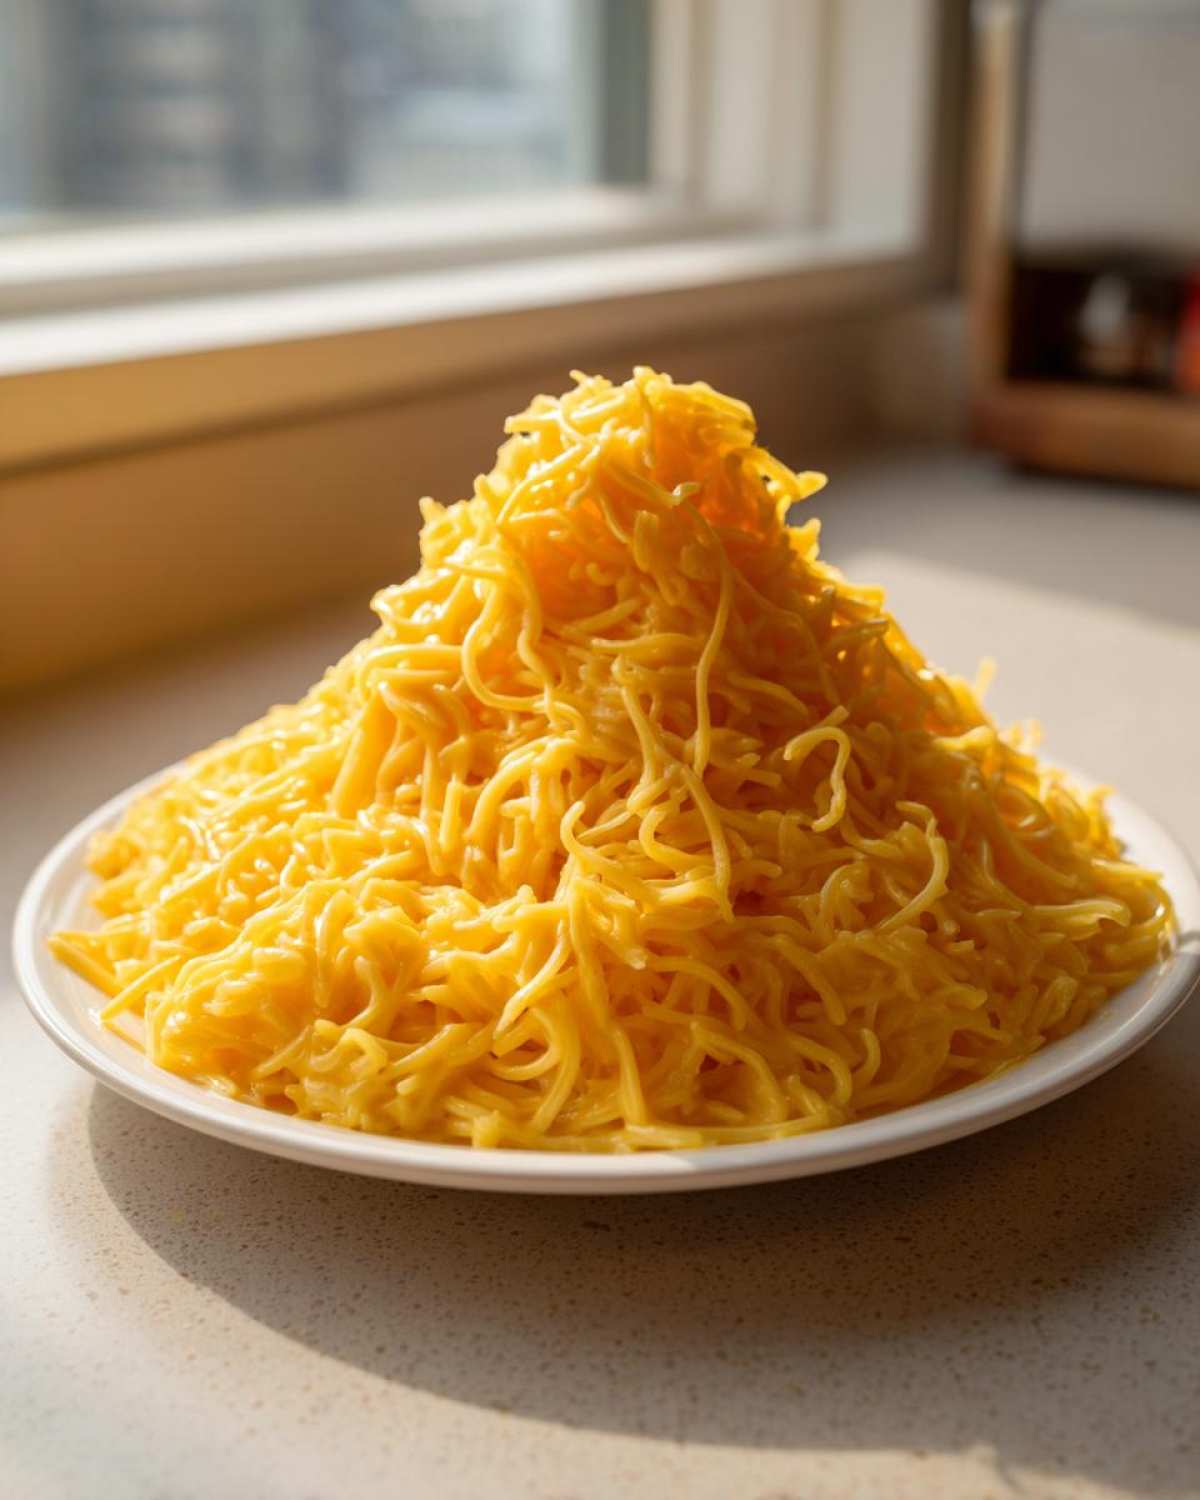
The Perfect Cheddar Parmesan Rice Texture
The secret to getting that velvety, non-gluey consistency is what we do right at the end. It’s not just a pile of melted cheese on top! We use a balanced trio: rich chicken broth for cooking the rice, a splash of milk for liquidity, and most importantly, cubed cream cheese. That cream cheese is the emulsifier hero that keeps everything smooth. That ratio gives you the absolute best **Cheddar Parmesan Rice** texture—dreamy and decadent.
Gathering Your Ingredients for Perfect Cheesy Rice
Okay, now for the operational breakdown! As the planner in this duo, I always make sure we have the right components ready before we even turn on the heat. If you are going to make a truly great **cheesy rice**, you can’t skimp on the quality of your cheese. I insist on sharp cheddar here; pre-shredded bags often have anti-caking agents that make the sauce gritty, which we absolutely won’t permit in our empire!
Here is the list of what you need for four satisfying servings:
- 1 tablespoon unsalted butter
- 2 cloves garlic, minced
- 1 cup long-grain white rice, uncooked
- 2 cups chicken broth (or vegetable broth)
- 1/2 teaspoon salt
- 1/4 teaspoon black pepper
- 1/2 cup milk (whole or 2%)
- 4 ounces cream cheese, cut into cubes
- 1 1/2 cups shredded sharp cheddar cheese
- 1/4 cup grated Parmesan cheese
Ingredient Notes and Substitutions for Cheesy Rice
Listen, for this dish to sing, you need flavor depth. That means using Sharp Cheddar—the bolder, the better! If you have to sub the broth, you can use water, but you absolutely must add two bouillon cubes or a teaspoon of good quality bouillon paste. Don’t let that save you pennies on flavor!
Also, that milk? If you want this to be ultra-rich—like, ‘eat-it-with-a-spoon-and-forget-your-problems’ rich—swap that milk for heavy cream. It’s a little executive splurge that makes this **homemade cheesy rice** taste absolutely incredible. Just be sure every piece of dairy is ready to go when the rice finishes simmering!
Step-by-Step Guide to Making Stovetop Cheesy Rice
This is where Noah’s strategy meets my operational execution! If you follow these steps precisely, you’ll end up with the **best cheesy rice recipe**, guaranteed. The timeline is tight, so have your broth measured out and your cheese ready to go before you even touch the stove. We move quickly here to capitalize on the starches in the rice! I always think about our efficiency goals when I make this, which is why I love making sure we incorporate that buttery garlic base. If you need a primer on achieving peak flavor from butter and garlic, check out my notes on making homemade garlic butter!
Toasting the Rice and Infusing Garlic Butter Flavor
First things first, get your pan over medium heat and melt that butter. Toss in your minced garlic—we want it fragrant, which usually takes about 30 seconds. Now, pour in the uncooked rice. This step is huge! Sautéing the rice for a couple of minutes toasts the outside of the grains. This little bit of effort keeps the final product fluffy instead of resembling sticky glue, leaning into that lovely **garlic butter cheesy rice** profile. Keep stirring so nothing burns!
Simmering the Rice Perfectly for Tender Cheesy Rice
Once the grains are slightly translucent, hit it with the two cups of broth, salt, and pepper. Bring that up to a rolling boil, and here is the critical moment: immediately drop the heat to low, slap that lid on tight, and simmer for exactly 15 minutes. I mean it—do not lift that lid, don’t peek! Lifting the lid lets that precious steam escape, and we need every bit of it to cook the rice completely. This ensures a lovely, tender texture for our final **cheesy rice**.
Achieving the Ultimate Creamy Cheesy Rice Finish
When that 15 minutes is up, pull the pot completely off the heat. Seriously, take it off the burner—residual heat is enough! Now, stir in the milk and drop in those cubes of cream cheese. Stir them around until they melt completely. That’s your base. Next, gently fold in the sharp cheddar and Parmesan. Keep stirring just until everything is melted and beautifully incorporated. That gentle mixing off the heat is what guarantees a silky smooth sauce, making this the perfect **creamy rice side dish**.
Let it sit covered for five minutes before serving. It’ll firm up just enough!
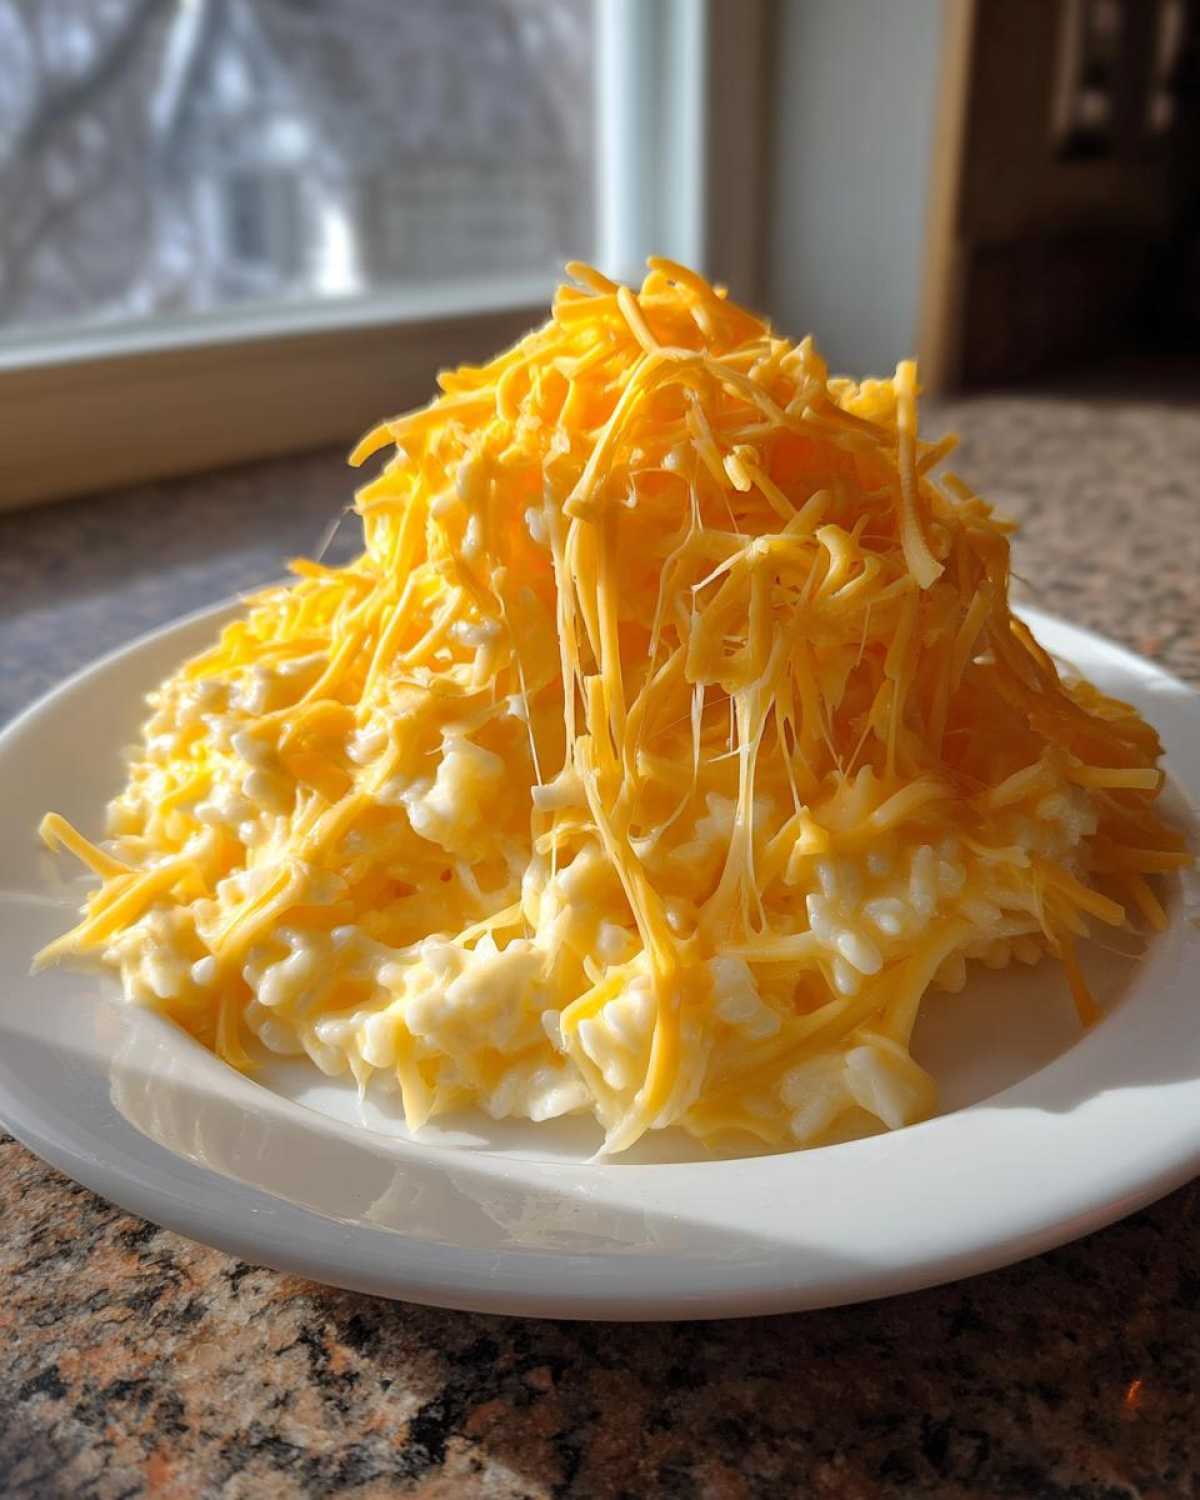
Tips for Success with Your Homemade Cheesy Rice
Even though this is one of the simplest blueprints we have, Noah always has a strategic note prepared to prevent hiccups. When you’re dealing with dairy and starch, timing is everything, which is what sets this experience apart from just slapping cheese on leftover rice. I’ve learned these little tricks from watching him work through disastrous early batches!
To give you the absolute **best cheesy rice recipe** possible, here are the four things you must manage perfectly:
- Don’t Skip the Toasting: I know I keep stressing this whole toasting the rice thing, but if you rush steps one and two, the rice grains will steam instead of absorbing the fat and flavor. That’s how you get mushy rice instead of fluffy, distinct grains suspended in sauce.
- Cube That Cream Cheese: Don’t throw in a big block of cold cream cheese straight from the fridge. Cut it into small cubes while the rice is simmering. Smaller pieces melt faster and more evenly when the pot is off the heat, which prevents that dreaded stringy, clumpy texture.
- Grate Your Own Cheese: Seriously, make the effort, especially for the cheddar. Packaged shredded cheese has that anti-caking cornstarch on it. When you add liquid, that starch turns into little weird globs. Freshly grating right over your bowl means better meltability and a smoother finish.
- The Resting Period is Non-Negotiable: That final five minutes the rice rests, covered, off the heat? That’s crucial. It allows the residual steam to equalize, the sauce to thicken slightly, and the heat to redistribute so the cheese melts beautifully without separating. If you dig in right away, the sauce will be too runny. We want that perfect, sturdy side-dish consistency, just like when we make crispy mashed potato cakes!
Making Cheesy Rice Variations for Quick Side Dishes with Rice
The beauty of this recipe, even though it’s a perfect blueprint as is, is how easily it flexes! Since we’re aiming for those speedy solutions—those perfect **quick side dishes with rice** that appear magically on the table—we can play around a bit depending on what else we’re serving. You don’t need a whole new recipe structure; you just need strategic additions!
If you’re aiming to bulk this up or add some green, here are two ways I quickly execute variations:
- Adding Veggies Mid-Simmer: If you want broccoli or peas in your cheesy rice, you can toss them in right when you cover the pot for the 15-minute simmer! They’ll steam perfectly tender right alongside the rice. It’s like we are taking notes from our one-pot creamy broccoli pasta blueprint!
- Spice It Up Post-Melt: For a little smoky kick that pairs great with steak, stir in about 1/2 teaspoon of smoked paprika or a dash of cayenne pepper right when you add the cheddar and Parmesan. You get big flavor without any extra cooking time.
See? It’s super simple to pivot this recipe into exactly what you need for the meal!
Serving Suggestions for Simple Cheesy Rice for Chicken
Honestly, the best part about mastering this **cheesy rice** recipe is realizing how versatile it is. It’s not just a side dish you default to; it’s a rich, creamy base that *elevates* whatever you put next to it! For those nights when we are grilling out or need a quick protein on the grill, this is the perfect partner. You need starch that can stand up to big grilled flavors without getting lost or soggy.
If you’re serving something simple, this cheese sauce carries the entire plate. I’ve found that the sharp cheddar in this version is amazing alongside leaner proteins. Try pairing it up with the following:
- Grilled Chicken Breast: This is a classic pairing. We often use my easy garlic Parmesan chicken recipe alongside it. The savory garlic notes from the chicken echo the garlic we toasted in the rice, tying the meal together perfectly. This is the quintessential **Simple Cheesy Rice for Chicken** setup.
- Pan-Seared Steak or Pork Chops: If you’re having a slightly richer main course, the creaminess of the rice cuts through the richness wonderfully. A nice steak with a simple pan sauce sits perfectly atop a bed of this stovetop cheesy rice.
- Baked or Flaky White Fish: Don’t shy away from seafood! Fish like cod or tilapia, baked simply with lemon and herbs, becomes instantly more decadent when served with this creamy side. It feels like you spent hours on the whole meal, but we know it was under 30 minutes!
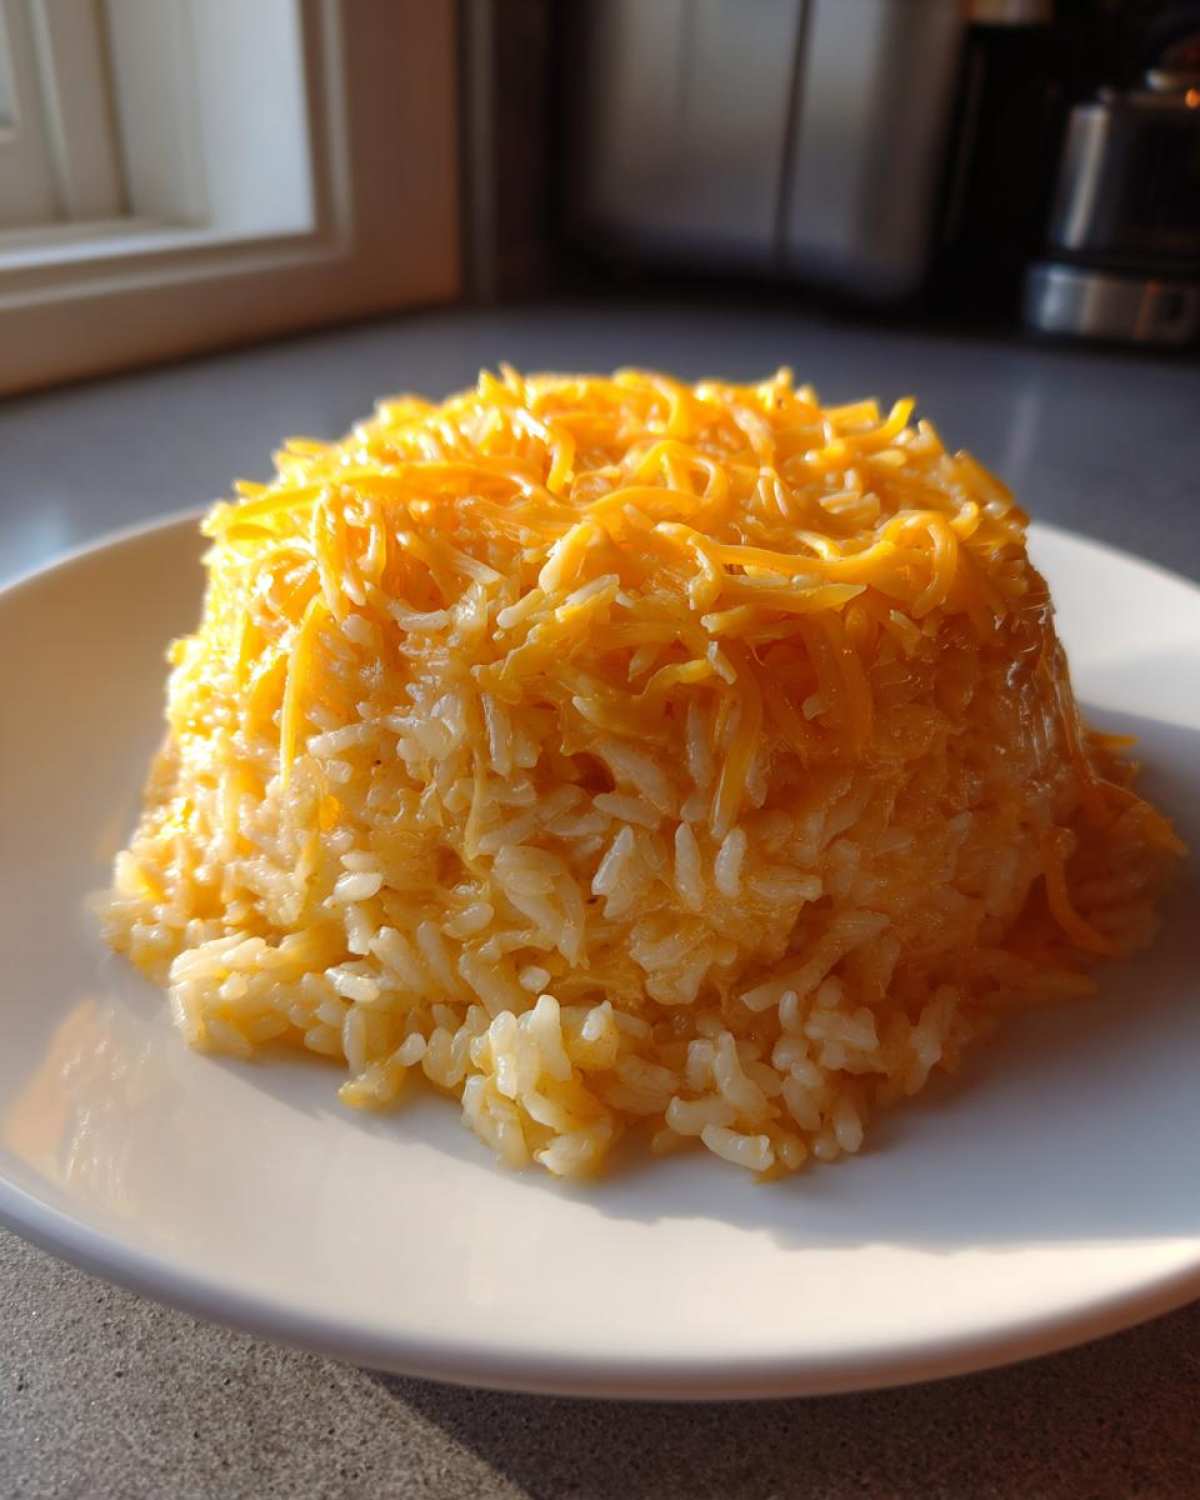
It’s foolproof comfort food that makes any protein feel like a special occasion. That’s the operational efficiency I love to see!
Storage and Reheating Instructions for Leftover Cheesy Rice
One of the best things about having a fantastic **cheesy rice** blueprint created by Noah is that we often have delicious leftovers! It’s truly the gift that keeps on giving. But, because we are using real, quality dairy here—especially that beautiful cream cheese—we have to be strategic when we reheat it. If you just microwave it straight from the fridge, that cheese is going to seize up on you and turn into a hard, greasy mess. And honestly, we can’t have that happening in our empire!
Here is my foolproof operation plan for storing and reviving those creamy leftovers. This ensures you still get that lovely texture the next day.
First, storage. Once the cheesy rice has cooled down a little bit (but not completely!), scoop it into an airtight container. I try to use a shallow container if I can, just because it cools faster, which is safer from a food handling perspective. It will keep beautifully in the fridge for about three to four days. It never lasts longer than that in our house, but that’s your time limit!
Now for the crucial part: reheating. Whether you use a saucepan or the microwave, you absolutely must add extra moisture back into the mix. If you just heat it plain, the rice soaks up all the remaining liquid, and it turns into a brick. Before heating:
- For a saucepan: Add a splash—maybe a tablespoon or two—of either chicken broth or milk for every cup of leftover rice you are warming up. Heat it slowly over low heat, stirring often until it’s steaming through evenly.
- For the microwave: Do the same liquid addition, but use short bursts—maybe 30 seconds at a time—stirring well in between each burst. This prevents hot spots and keeps the cheese sauce from breaking.
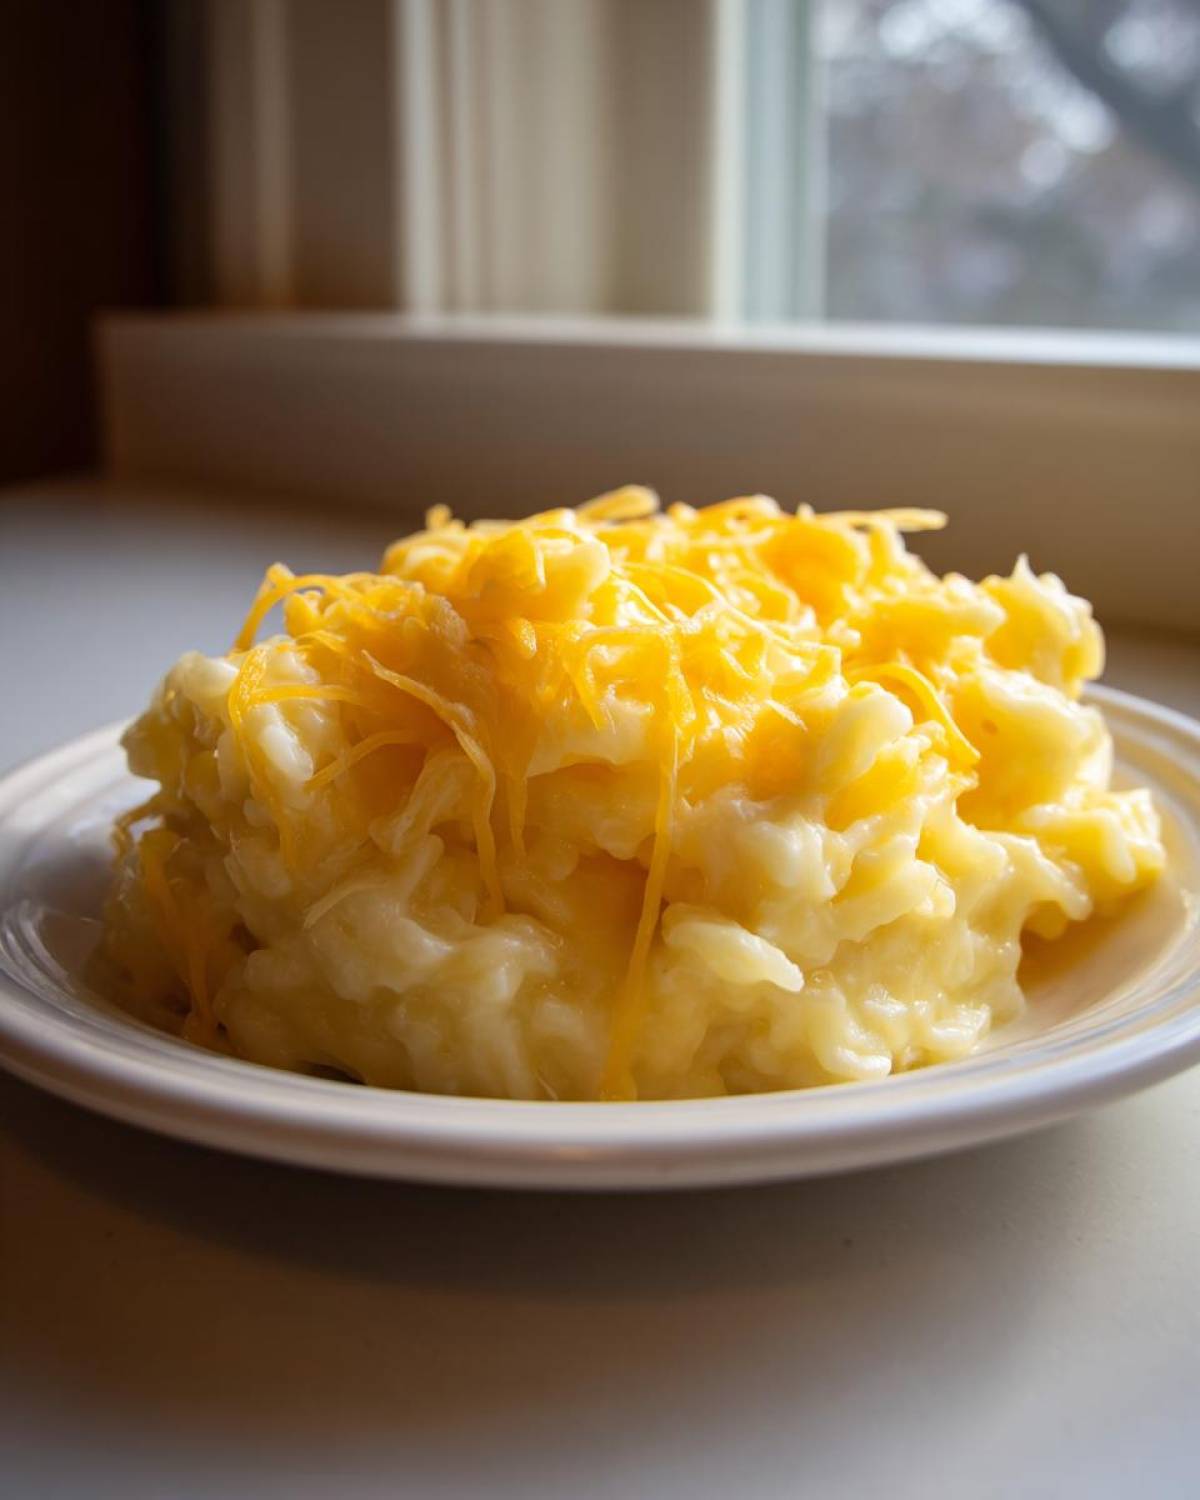
If you follow those steps for adding an extra splash of liquid, your leftovers will taste almost as good as the first batch. It’s all about managing the texture when you bring it back to life!
Frequently Asked Questions About This Cheesy Rice Recipe
Even though we tried to map out every contingency in the main directions, I know sometimes you just have that one specific question buzzing in your head. That’s fine! We run a tight operation here, but we always leave room for clarification. Here are the most common things people ask when trying to master this stovetop comfort food.
Can I make this cheesy rice ahead of time or freeze it?
I highly recommend against freezing this particular **cheesy rice**. When you freeze and thaw a sauce based heavily on cream cheese and melted cheddar, the fats and starches can separate dramatically, leading to a grainy disappointment when you reheat it. For making ahead, my advice is to prepare it but slightly undercook the rice during the 15-minute simmer time. When you are ready to serve, stir in the dairy and cheeses, and let it simmer gently on low for an extra 5–8 minutes until the rice finishes cooking through and the sauce melts smoothly. It performs much better that way than if it’s fully cooked and then chilled.
Is this recipe considered a Quick Side Dish with Rice?
Absolutely, 100%! This is the definition of a speedy side. From the moment you start mincing garlic to the moment you pull it off the heat, it takes right around 25 minutes, plus about 5 minutes of rest time. That’s why this is one of our favorite **Quick Side Dishes with Rice** to pull out when plans change last minute. It delivers big comfort in a tiny time frame.
What kind of rice works best for this cheesy rice?
For this recipe, we specifically call for long-grain white rice. I know Basmati and Jasmine are popular choices, but they contain starches that don’t break down quite the same way as standard long-grain white rice when simmered in broth. White rice has the perfect starch-to-grain ratio to absorb the broth during that covered simmer and then release just enough starch back into the mixture when the dairy goes in, creating that signature creaminess. If you use brown rice, you’d need significantly more liquid and probably an extra 20 minutes of cooking time, defeating the purpose of a fast **cheesy rice**!
If you’re looking for more general culinary blueprints we are testing on the blog, head over to the main Epicure Empire site!
A Note on Nutrition for Your Cheesy Rice Side Dish
Now, I know some of you out there are running the numbers while you’re planning your meals, and that’s great strategic thinking! As the Lead Strategist of the kitchen, Noah always appreciates when we understand the full scope of what we are building. When it comes to the nutritional estimates for this **cheesy rice** side dish, I have to give you the standard disclaimer we always use, which you can read more about over on our official disclaimer page.
Here’s the deal: the numbers are just estimates based on standard ingredient calculations. If you use a very sharp versus a mild cheddar, or if you swap out whole milk for a lighter option, those caloric and fat counts are going to shift! For example, using full-fat cream cheese versus a reduced-fat version will definitely change the final values for saturated fat.
The best advice I can give you is treat the provided data as a solid starting point for your calculations, but always account for the specific, high-quality ingredients you choose to bring into your own ’empire.’ Because we aren’t using canned soups or tons of filler, this is a genuinely rich side dish, and that’s okay for a delicious comfort meal!
PrintQuick Stovetop Cheesy Rice with Sharp Cheddar

This is the ultimate easy cheesy rice recipe, perfect for busy weeknights. You can make this creamy, comforting side dish on the stovetop in under 30 minutes using simple ingredients like sharp cheddar and garlic.
- Prep Time: 5 min
- Cook Time: 25 min
- Total Time: 30 min
- Yield: 4 servings
- Category: Side Dish
- Method: Stovetop
- Cuisine: American
- Diet: Vegetarian
Ingredients
- 1 tablespoon unsalted butter
- 2 cloves garlic, minced
- 1 cup long-grain white rice, uncooked
- 2 cups chicken broth (or vegetable broth)
- 1/2 teaspoon salt
- 1/4 teaspoon black pepper
- 1/2 cup milk (whole or 2%)
- 4 ounces cream cheese, cut into cubes
- 1 1/2 cups shredded sharp cheddar cheese
- 1/4 cup grated Parmesan cheese
Instructions
- Melt the butter in a medium saucepan over medium heat. Add the minced garlic and cook for 30 seconds until fragrant. Do not let the garlic brown.
- Add the uncooked rice to the saucepan and toast for 1 to 2 minutes, stirring constantly until the edges of the grains look slightly translucent.
- Pour in the chicken broth, salt, and pepper. Bring the mixture to a boil, then immediately reduce the heat to low, cover the saucepan, and simmer for 15 minutes, or until the liquid is absorbed and the rice is tender. Do not lift the lid during this time.
- Remove the saucepan from the heat. Stir in the milk and the cubed cream cheese until the cream cheese melts and the mixture becomes creamy.
- Add the shredded cheddar cheese and Parmesan cheese. Stir gently until all the cheese is fully melted and incorporated, creating your cheesy rice.
- Let the cheesy rice stand, covered, for 5 minutes before serving. Serve warm as a side dish for chicken or steak.
Notes
- For extra flavor, substitute half of the chicken broth with reserved liquid from frozen broccoli if you add broccoli later.
- If you prefer a richer dish, use heavy cream instead of milk.
- This cheesy rice pairs well with grilled chicken or baked fish.
Nutrition
- Serving Size: 1 cup
- Calories: 410
- Sugar: 3
- Sodium: 680
- Fat: 21
- Saturated Fat: 12
- Unsaturated Fat: 9
- Trans Fat: 0.5
- Carbohydrates: 42
- Fiber: 1
- Protein: 15
- Cholesterol: 55