

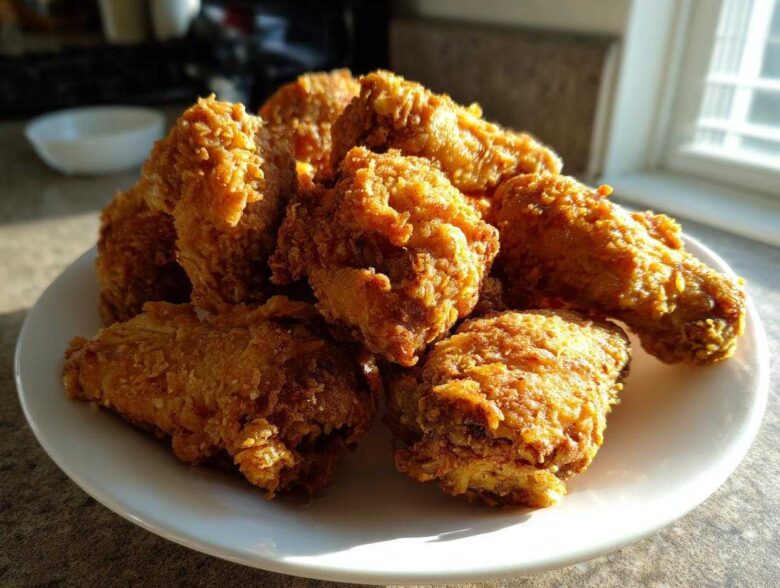
Oh, honey, let me tell you, I used to *torture* myself trying to get perfect fried chicken wings at home. You know the drill—they come out kind of pale, or they look crispy right out of the oil, but then they turn soggy before you can even make it to the Game Day TV screen. It was frustrating! But I finally cracked the code, and I promise you, this Southern buttermilk method is the key to unlocking that restaurant-quality magic.
This isn’t just another recipe; this is *the* definitive guide for Southern fried chicken wings that manage to be unbelievably crispy on the outside while staying unbelievably juicy inside. Seriously, the texture is mind-blowing. Once I started using the buttermilk soak religiously, I never looked back. Forget dry, flavorless wings; we’re making golden brown perfection today!
Why This Southern Fried Chicken Wings Recipe Delivers
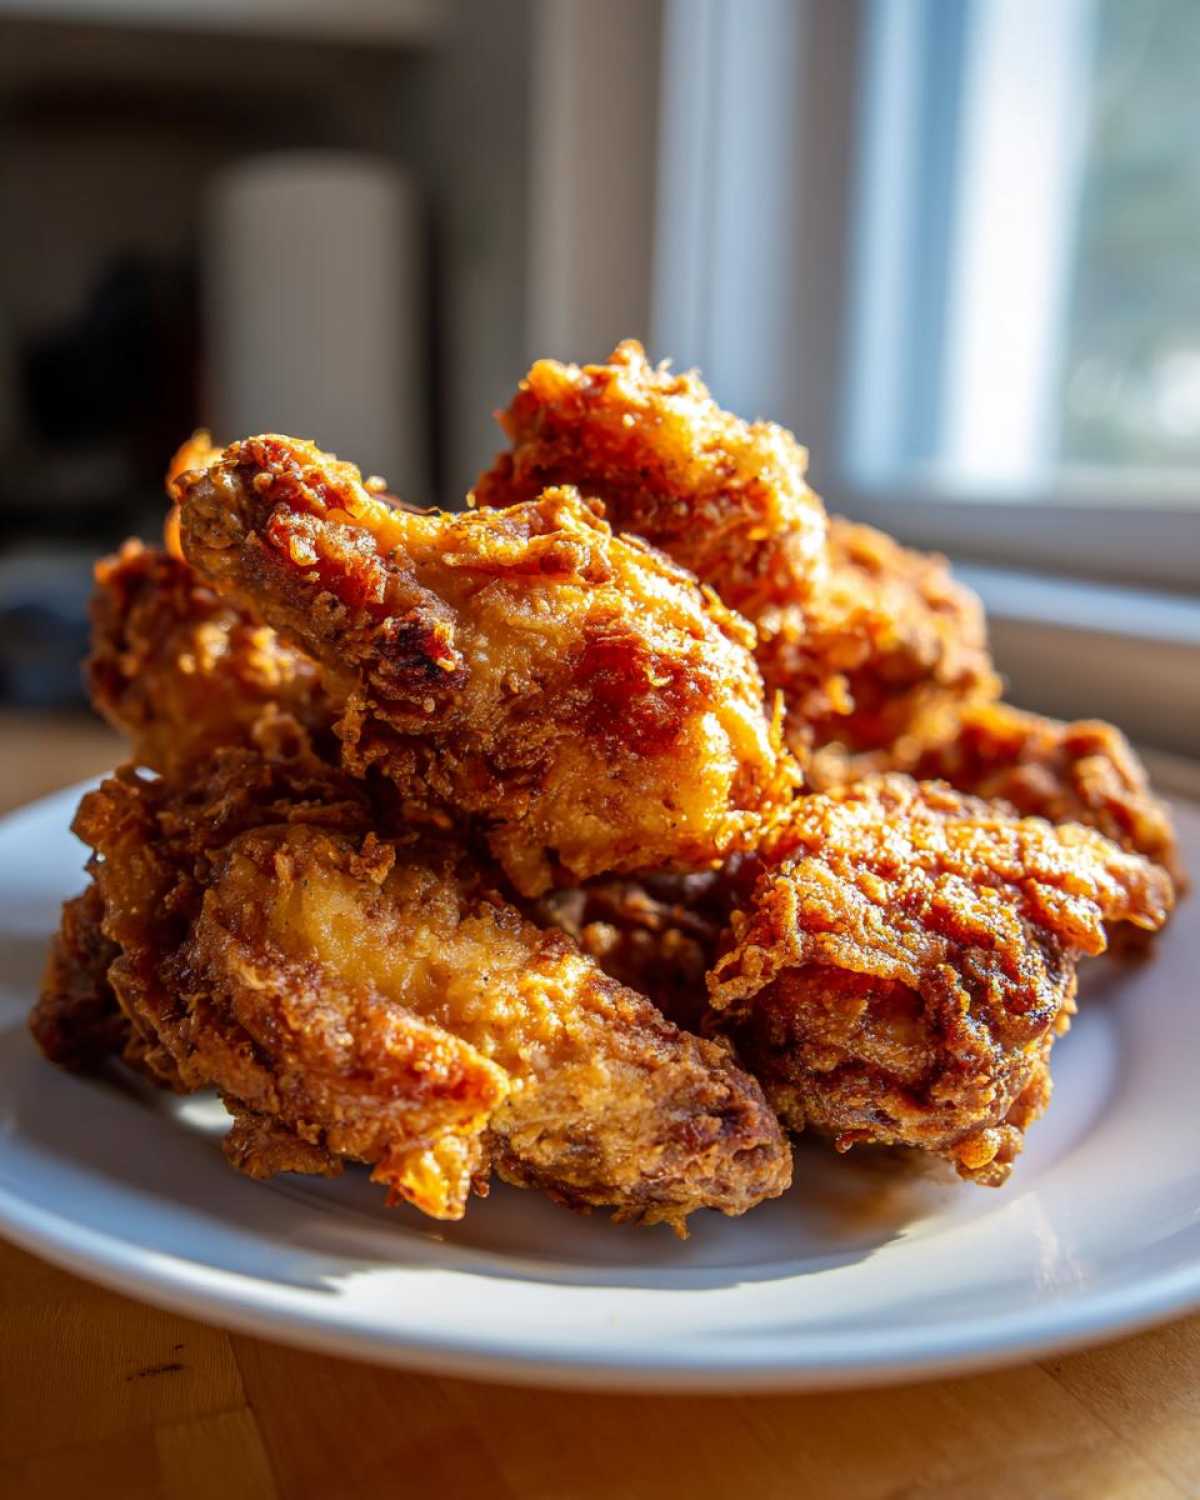
Folks, the reason this method works so well is that we nail the two things everyone wants: maximum crunch and maximum moisture. We aren’t cutting corners here because these are the best fried chicken wings you’ll ever make at home, I swear! If you love that savory flavor that makes you grab another one instantly, this is the one. You can check out more of my kitchen adventures over at my recipe blog if you want to see more tips!
The Secret to Juicy Fried Chicken Wings: Buttermilk Soak
You absolutely have to let your wings hang out in that tangy buttermilk mixture. It’s not just for flavor, believe it or not! The mild acid in the buttermilk starts to break down the proteins in the meat just a tiny bit. What does that mean for you? It means the meat stays incredibly tender and moist when it hits that hot oil. Never skip that soak time if you want truly juicy fried chicken wings!
Achieving Extra Crispy Wings Coating
This is where we get that shatteringly crisp texture that everyone chases. See that cornstarch? Don’t skip it! It’s the secret weapon mixed in with the flour. Cornstarch doesn’t absorb oil the same way pure flour does, so it fries up lighter and harder, giving you those beautiful nooks and crannies that become unbelievably crunchy. That’s how you get those coveted extra crispy wings!
Gathering Ingredients for Flavorful Fried Chicken Wings
Okay, now that we know *why* this technique works, we need to talk about what we’re actually putting into the bowl! Getting top-tier fried chicken wings at home all comes down to using the right components. Trust me, even the best technique can’t hide cheap ingredients. We want bold flavor packed into every single bite, so grab your apron and let’s pull everything out!
Buttermilk Marinade Components
The marinade is where half the magic happens, so be generous here. You’re going to need the basics to tenderize those wings:
- 2 cups buttermilk (If you can find full-fat, grab it—it coats the chicken better!)
- 1 tablespoon hot sauce (This adds a tiny background tang, nothing crazy, I promise.)
Let that chicken swim in that mixture for hours. It really seems like a lot of buttermilk, but the wings need that nice bath to soak up all the goodness!
The Perfect Coating Mix for Deep Fried Chicken Wings
This dry coating is what protects the moisture and locks in that crunch. Remember, we’re aiming for that golden brown, savory exterior that screams Southern comfort food. Here are the dry measurements you need for your dredging station:
- 2 cups all-purpose flour
- 1/2 cup cornstarch (The secret weapon!)
- 2 teaspoons salt
- 1 teaspoon black pepper
- 1 teaspoon paprika
- 1 teaspoon garlic powder
- 1/2 teaspoon cayenne pepper (Adjust this based on how much kick you like.)
Whisk this all together really well! You want those spices distributed evenly so every part of your chicken gets that savory flavor when it hits the oil for truly memorable deep fried chicken wings.
Step-by-Step Instructions for Perfectly Fried Wings
Alright, let’s stop admiring the ingredients and actually get these amazing fried chicken wings cooking! This process seems simple, but the timing and temperature are everything. If you follow these steps exactly, I guarantee you’ll get that perfect crust you’ve always wanted. And while you’re here, if you need great ideas for what to serve alongside your wings, you might want to check out my recipe for sheet pan chicken and veggies—though honestly, these wings need nothing more than a napkin!
Marinating the Chicken for Tender Inside Crispy Outside Wings
Step one is making sure those wings are tenderized! This is the marathon part of the race, not the sprint. You need to combine your 2 cups of buttermilk with that splash of hot sauce and nestle all your separated drumettes and flats right in there. Cover that bowl tightly! This marinade has to hang out in the fridge for a minimum of four hours. Seriously, don’t rush this step. I always let mine go overnight—12 hours is even better. This extended soak breaks down connective tissues just enough so that when you pull them out later, you’re guaranteed to have truly juicy fried chicken wings. They come out so tender they practically melt!
The Dredging Technique for Restaurant Style Chicken Wings
Now that the wings are seasoned from the inside out, we move to the coating. Take your bowl of seasoned flour mixture—the one with the cornstarch magic—and pull those wings out of the buttermilk bath one by one. This part is crucial, so listen closely: you need to let the heavy excess buttermilk drip off, but do NOT wipe the chicken dry with a paper towel!
We need that wet layer to help the flour stick! Once the excess drip is gone, drop the wing straight into the flour mix. You have to press that coating on firmly. Really massage it in there! I like to press down hard on the wing to create those craggy bits that turn into crunchy ridges when fried. Shake off the loose excess flour gently, and that wing is ready for the oil. This specific technique is what separates my wings from the sad, floppy ones you sometimes get out there. It’s key for that restaurant style chicken wings look!
Oil Temperature and Frying for Golden Brown Chicken Wings
This is where you need your thermometer, folks. Do not eyeball this! You need your oil, whether it’s a big pot on the stove or a dedicated fryer, heated precisely to 325 degrees Fahrenheit (160 Celsius). If the oil isn’t hot enough, the coating soaks up grease and you get soggy wings. If it’s way too hot, the outside burns before the inside cooks.
Carefully place only 4 to 6 wings in at a time. I can’t stress this enough—do not overcrowd your pot! Overcrowding immediately drops that oil temperature way down. Let those wings fry undisturbed for about 10 to 12 minutes. Keep an eye on them, turning them gently halfway through so they brown up evenly on all sides until they are a deep, rich, golden brown chicken wings color. Once they hit that perfect color and temperature (165°F inside), lift them out quickly!
Expert Tips for Making Crispy Fried Chicken Wings
We nailed the basic frying steps, but if you want to take your wings from ‘great’ to ‘I’m opening a restaurant next week’ status, you need a couple of insider tricks. These tips focus entirely on texture and temperature, which, honestly, is where most people mess up their home-fried poultry. I learned this the hard way—it takes just a slight adjustment to get that perfect, audible crunch.
The Double-Dredge Method for Ultimate Crispiness
If you are making these for a big party or Game Day and you just *need* that maximum texture—I mean, you want the coating to crackle when you touch it—you gotta try the double-dredge. This is mentioned in the notes for a reason! After you have done your first thorough coating of flour mixture, just let that wing sit on the rack for about 60 seconds while you prep the next one. Then, dip it quickly, almost like a flash dip, back into the buttermilk, and immediately dredge it *again* in the flour mix.
Don’t pack it too hard the second time, just coat it lightly and let the last bits fall off. That second layer creates a thicker, more rugged surface area that turns into ridiculously crisp edges when it hits the oil. Seriously, this is your ticket to the best crunch!
Resting the Fried Chicken Wings After Frying
So your wings are perfectly golden brown and look amazing coming out of the pot. Don’t stack them in a bowl! That’s the number one mistake, because the hot steam gets trapped underneath, and that beautiful crust we worked so hard for turns instantly soft. You need to pull them out and immediately place them on a wire rack that is set over a baking sheet.
Let them rest there for a good five minutes before you start eating or tossing them in sauce. That elevation allows the steam to escape underneath the wings. This simple 5-minute pause is non-negotiable for keeping that exterior crisp. After they’ve rested, then you can serve them hot, or move them over to another dish covered loosely with foil. If you’re planning on dipping these bad boys in my amazing fried pickle dip, they need to keep that crunch!
Serving Suggestions for Game Day Chicken Wings
Now that you have produced the most magnificent, crispy, and juicy fried chicken wings the world has ever known, the next big question is: What do you serve them with? Honestly, these wings are so flavorful on their own, they don’t *need* much help, but we all know that appetizers always travel better in a crowd!
These are truly the perfect centerpiece for your next huge party or just for a satisfying weeknight treat when you need something quick and impressive. If you’re making them for a big group, you’ll want some dipping action, right? Forget sad ranch dressing; you need something bold to stand up to that savory, spiced coating.
Because these wings are so savory, they pair beautifully with things that cut through the richness. If you’re prepping for a big weekend meal, you absolutely have to try making my famous bacon-wrapped jalapeno poppers alongside them. The slight heat and creaminess of the popper filling are the perfect counterpoint to that crispy skin.
Also, don’t forget simple sides! A big bowl of cold, creamy coleslaw or some crisp celery sticks offer a great texture break. And if you’re feeling super traditional, a side of sweet potato fries makes for a fantastic, hearty pairing. Enjoy every single messy, finger-lickin’ good bite!
Storage and Reheating Instructions for Homemade Fried Chicken Wings
Okay, the impossible has happened: you have leftover fried chicken wings. It’s a beautiful problem to have! But we need to address the main enemy here: sogginess. If you just toss them in a plastic container and stick them in the fridge, prepare yourself for sadness the next day. The steam trapped inside is your crust’s worst enemy.
When I know I have leftovers, I make sure they are completely cooled down first, but *not* covered tightly. I lay them out on a plate lined with a paper towel just until they stop steaming. Then, I move them to an airtight container, but I always make sure to place a dry paper towel or two at the bottom of the container to wick away any resting moisture.
You can usually keep these beauties for about three to four days in the fridge, but honestly, they are best eaten within 48 hours.
The Best Way to Reheat Fried Wings (Hint: It Isn’t the Microwave!)
I cannot stress this enough: do not use the microwave unless you enjoy eating rubbery poultry. Microwaves reheat the moisture inside the breading, essentially steaming the crust right off of your wing. That defeats the entire purpose of making these finger lickin’ good wings!
Your best friends for reheating are either the oven or the trusty air fryer. In the oven, you preheat to about 375°F (190°C). Lay the wings out in a single layer on a wire rack set over a baking sheet—just like when they cooled down! Heat them for about 10 to 15 minutes. That rack lets air circulate all around, drying out the crust again while warming the interior perfectly.
Using the Air Fryer for Speedy Crispy Reheat
If you have an air fryer, this is faster and maybe even crispier than the oven! Set your air fryer to about 360°F (180°C). Place the wings in a single layer (do not overlap them!) and cook them for about 5 to 7 minutes. You might need to pulse it for another minute if they aren’t quite hot enough, but watch them closely so they don’t burn.
Using these methods brings back that crispy, golden-brown texture beautifully. If you’re prepping ahead for a big weekend cook, you can even freeze an extra batch! Just cool them completely, place them on a baking sheet in the freezer until solid, and then transfer them to a heavy-duty freezer bag. They freeze well for about two months, and you can reheat them straight from frozen using the oven method, just adding a little extra time. For more tips on making food ahead, you can always sneak a peek at my tips for organizing freezable meals, like these freezer breakfast burritos!
Frequently Asked Questions About Fried Chicken Wings
I know you probably have a few lingering thoughts—especially after mastering that double-dredge technique! People always write in with questions about minor tweaks or safety because making good fried chicken wings at home can feel intimidating. Don’t you worry, I’ve collected the most common things people ask me about getting these perfect!
Can I make these Best Fried Chicken Wings Recipe without buttermilk?
Okay, here’s the honest truth: you *can* try to make these without buttermilk, but you’ll be missing that signature tender inside that makes this the best fried chicken wings recipe. The buttermilk is essential for that flavor penetration and texture breakdown. If you’re totally out, don’t panic! You can create a quick substitute.
Try this simple hack: take two cups of regular milk—whole milk works best—and whisk in about two tablespoons of white vinegar or lemon juice. Let it sit on the counter for five minutes until it curdles slightly and thickens up a bit. It won’t be as effective as real buttermilk, but it gets you in the same acidic ballpark. Just proceed with the recipe as written after that!
What is the safest oil temperature for Deep Fried Chicken Wings?
Safety first, always! When you’re dealing with hot oil, precision matters way more than speed. The magic number we stick to for these deep fried chicken wings is 325°F (160°C). You absolutely must use a reliable candy or deep-fry thermometer clipped to the side of your pot. If your oil is too cold, the heavy coating just soaks up grease, and you end up with that sad, soggy texture we talked about.
If it’s too hot, the outside turns black before the inside is even safely cooked through. We are aiming for perfectly cooked chicken inside and max crunch outside, so stick to that 325°F zone!
How long can I safely marinate the wings?
For the absolute tenderest, most flavorful results, overnight is the way to go—aiming for 8 to 12 hours in that buttermilk bath is ideal. That gives the ingredients time to work their molecular magic on the meat.
However, since we are dealing with raw poultry here, you can only safely leave anything soaking in the fridge for up to 24 hours. If you let it go much longer than that, you are risking food safety issues, and nobody wants to ruin a good batch of wings over that! So go ahead and prep them the morning before a big party, but if you’re going longer than 24 hours, freeze them instead!
Estimated Nutritional Data for Savory Chicken Wings
Now, I know some of you are watching those numbers, and honestly, deep-fried chicken wings aren’t exactly a light salad! But for a true taste of amazing Southern comfort food, you have to treat yourself sometimes. I always run my recipes through a general calculator to give you a ballpark idea of what you’re looking at per serving—which we set at 4 wings.
Here’s the breakdown based on the ingredients list above. Remember, these numbers are just estimates, okay? If you use skim milk instead of buttermilk, or fry them for a shorter time, your final counts will change. We’re using standard vegetable oil amounts in these calculations.
- Serving Size: 4 wings
- Calories: 450
- Fat: 28g (This includes about 7g of that saturated fat, so be mindful!)
- Carbohydrates: 18g
- Protein: 30g
- Sodium: 650mg (That crispy coating definitely adds up!)
So yes, they have a bit of everything, but that 30 grams of protein is some seriously satisfying fuel! If you made these for Game Day Chicken Wings, trust me, no one is complaining about the numbers!
Share Your Experience Making These Fried Chicken Wings
Listen, I’ve shared all my secrets with you—the buttermilk soak, the crucial cornstarch addition, and the temperature control that keeps you from getting soggy messes. Now it’s your turn! I truly love hearing from you, and knowing that you’ve tackled making homemade fried chicken wings in your own kitchen is the best part of sharing these recipes.
Did they come out perfectly golden brown? Did that double-dredge technique give you the crackle you were hoping for? Don’t keep that victory to yourself!
I always check the comments daily, so please leave a rating down below—five stars if you loved the crispiness, or tell me what you learned if you tweaked something. If you have any follow-up questions that I might have missed, feel free to drop those in the contact form over at my contact page, and I’ll get right back to you!
Get cooking, and I can’t wait to hear how deliciously crispy your wings turned out!
PrintSouthern Fried Chicken Wings: Crispy and Juicy Recipe
Make restaurant-style Southern fried chicken wings that are extra crispy on the outside and perfectly juicy inside using a simple buttermilk marinade.
- Prep Time: 20 min
- Cook Time: 25 min
- Total Time: 45 min
- Yield: 4 servings
- Category: Main Course
- Method: Deep Frying
- Cuisine: American
- Diet: Low Fat
Ingredients
- 2 lbs chicken wings, separated into flats and drumettes
- 2 cups buttermilk
- 1 tablespoon hot sauce
- 2 cups all-purpose flour
- 1/2 cup cornstarch
- 2 teaspoons salt
- 1 teaspoon black pepper
- 1 teaspoon paprika
- 1 teaspoon garlic powder
- 1/2 teaspoon cayenne pepper
- Vegetable oil, for frying
Instructions
- In a bowl, combine the buttermilk and hot sauce. Add the chicken wings, cover, and refrigerate for at least 4 hours, or preferably overnight.
- In a separate shallow dish, whisk together the flour, cornstarch, salt, pepper, paprika, garlic powder, and cayenne pepper.
- Remove the wings from the buttermilk, letting excess drip off, but do not wipe them dry.
- Dredge each wing thoroughly in the flour mixture, pressing the coating onto the chicken to ensure full coverage.
- Heat 2 to 3 inches of vegetable oil in a deep, heavy-bottomed pot or deep fryer to 325 degrees Fahrenheit (160 degrees Celsius). Use a thermometer to maintain the temperature.
- Carefully place 4 to 6 wings into the hot oil, ensuring you do not overcrowd the pot. Overcrowding lowers the oil temperature and results in soggy wings.
- Fry the wings for about 10 to 12 minutes, turning them occasionally, until they are deep golden brown and cooked through (internal temperature reaches 165 degrees Fahrenheit or 74 degrees Celsius).
- Remove the wings with a slotted spoon and place them on a wire rack set over a baking sheet to drain excess oil.
- Allow the wings to rest for 5 minutes before serving. Repeat the frying process with the remaining wings.
Notes
- For extra crispiness, you can double-coat the wings: after the first dredge, dip them back into the buttermilk briefly, then dredge again in the flour mixture.
- Maintain the oil temperature strictly between 325°F and 335°F for the best texture.
- If you prefer a less spicy wing, omit the cayenne pepper from the flour mix.
Nutrition
- Serving Size: 4 wings
- Calories: 450
- Sugar: 2
- Sodium: 650
- Fat: 28
- Saturated Fat: 7
- Unsaturated Fat: 21
- Trans Fat: 0
- Carbohydrates: 18
- Fiber: 1
- Protein: 30
- Cholesterol: 110